Bike Frame from Scratch
Yamaguchi Frame Building School
I've had a long-standing dream to ride my bike across Japan. The only way that dream could get any cooler would be to do it on a bike that I designed and built from scratch, with help from one of Japan's most renowned frame builders, Koichi Yamaguchi.
Motivations
In 2022, at the height of the pandemic, I spent some time in rural parts of Colorado with my best friend, Jon. We would take these excursions as opportunities to ride our gravel bikes in rugged and unexplored terrain, connect with the wild destinations that you only find in Colorado, and discover oddities that never make their way onto the internet.
One such oddity was the discovery of Koichi Yamaguchi's frame building school in Rifle, Colorado. Bicycle frame building, that is. For those in the know — I was not, at the time — Yamaguchi is a prolific and somewhat eccentric bike frame builder who was responsible for building experimental frames for the US Olympic team in the 80s. His creativity is non-stop and his attention to precise detail is as Japanese as it comes.
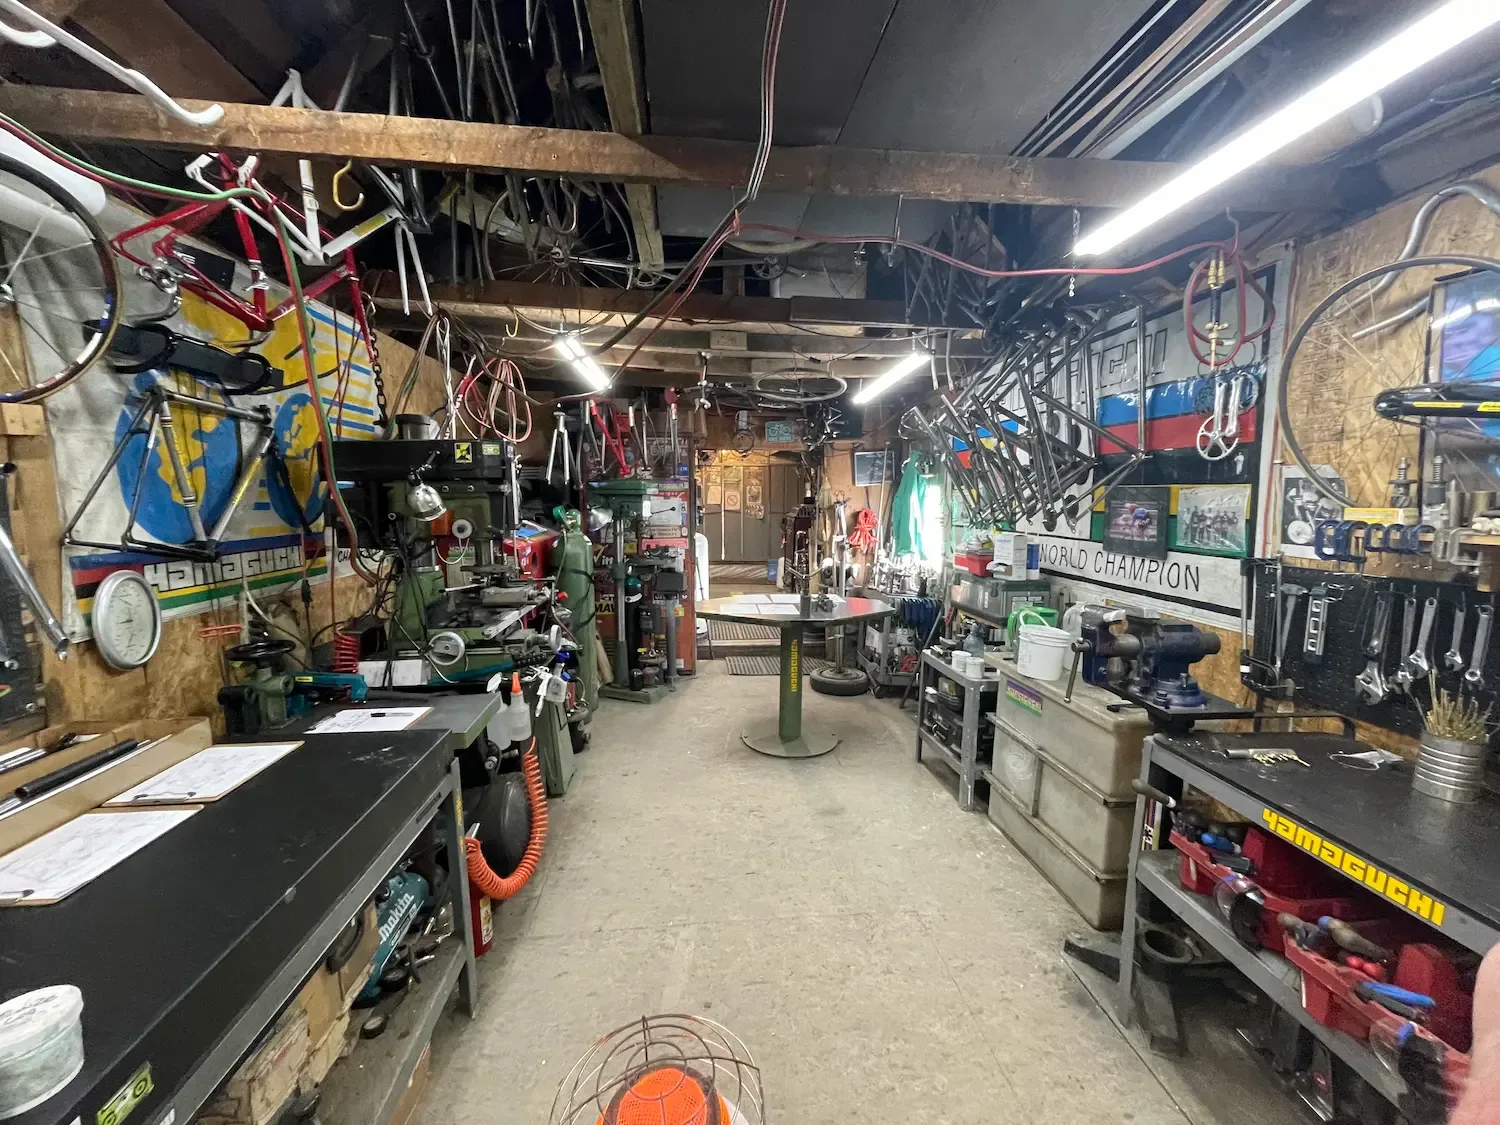
I knew instantly that I would take his class. It took time to find a spot, since he only takes on a few students at a time and the classes are offered infrequently. The wait was worth it though, and through two weeks of a frighteningly cold February, I got to spend my days tucked in Yamaguchi’s shop, learning the coolest metalworking art I could think of.
Learning to braze
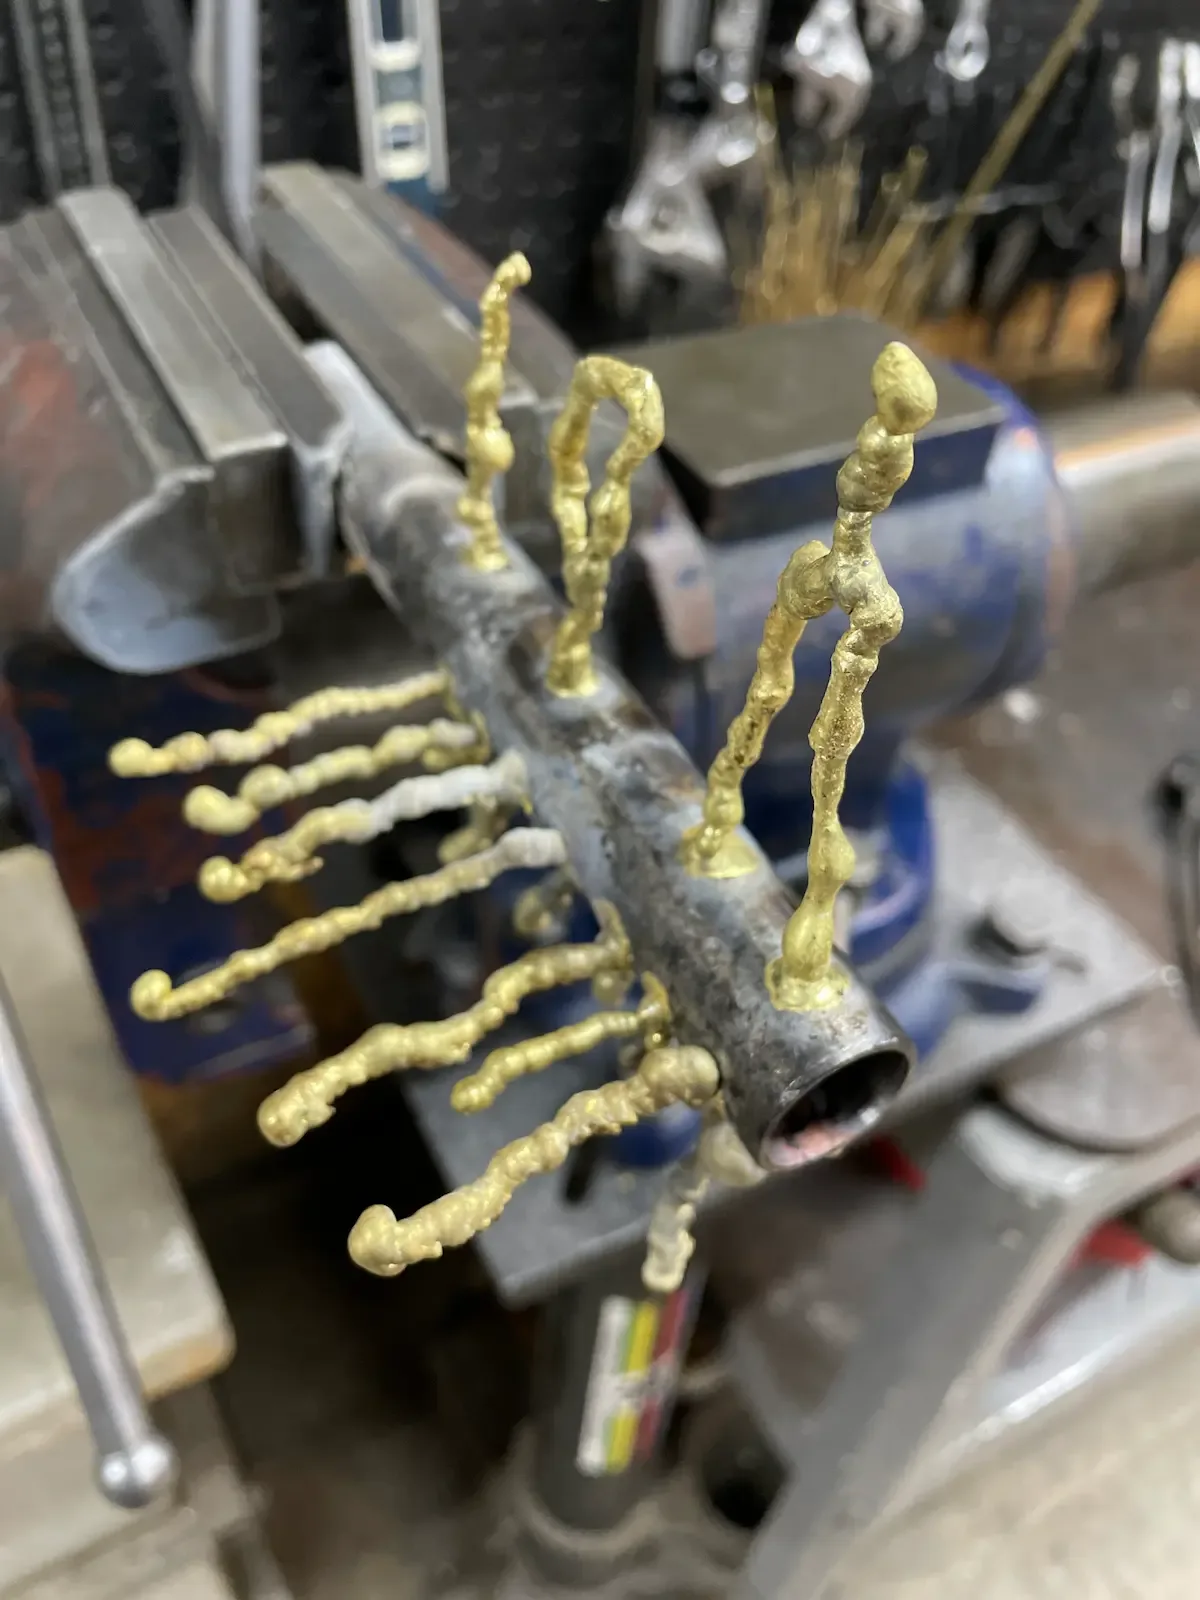
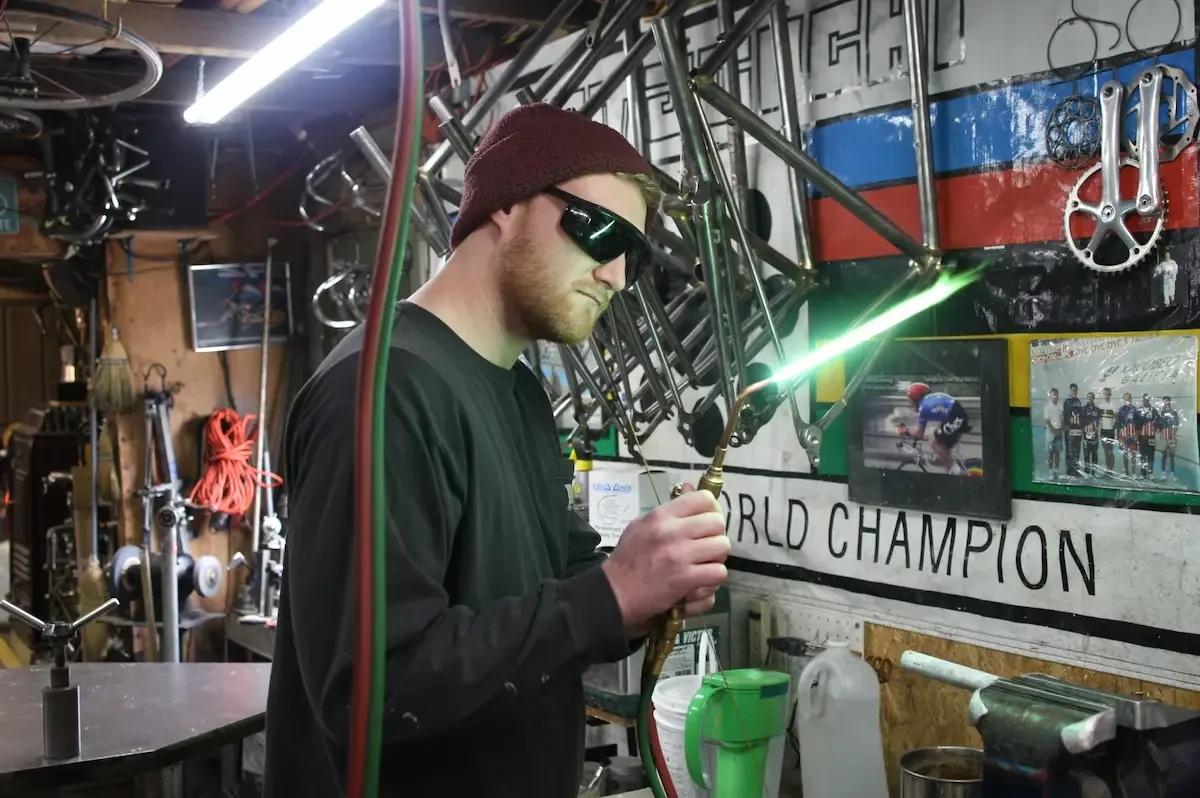
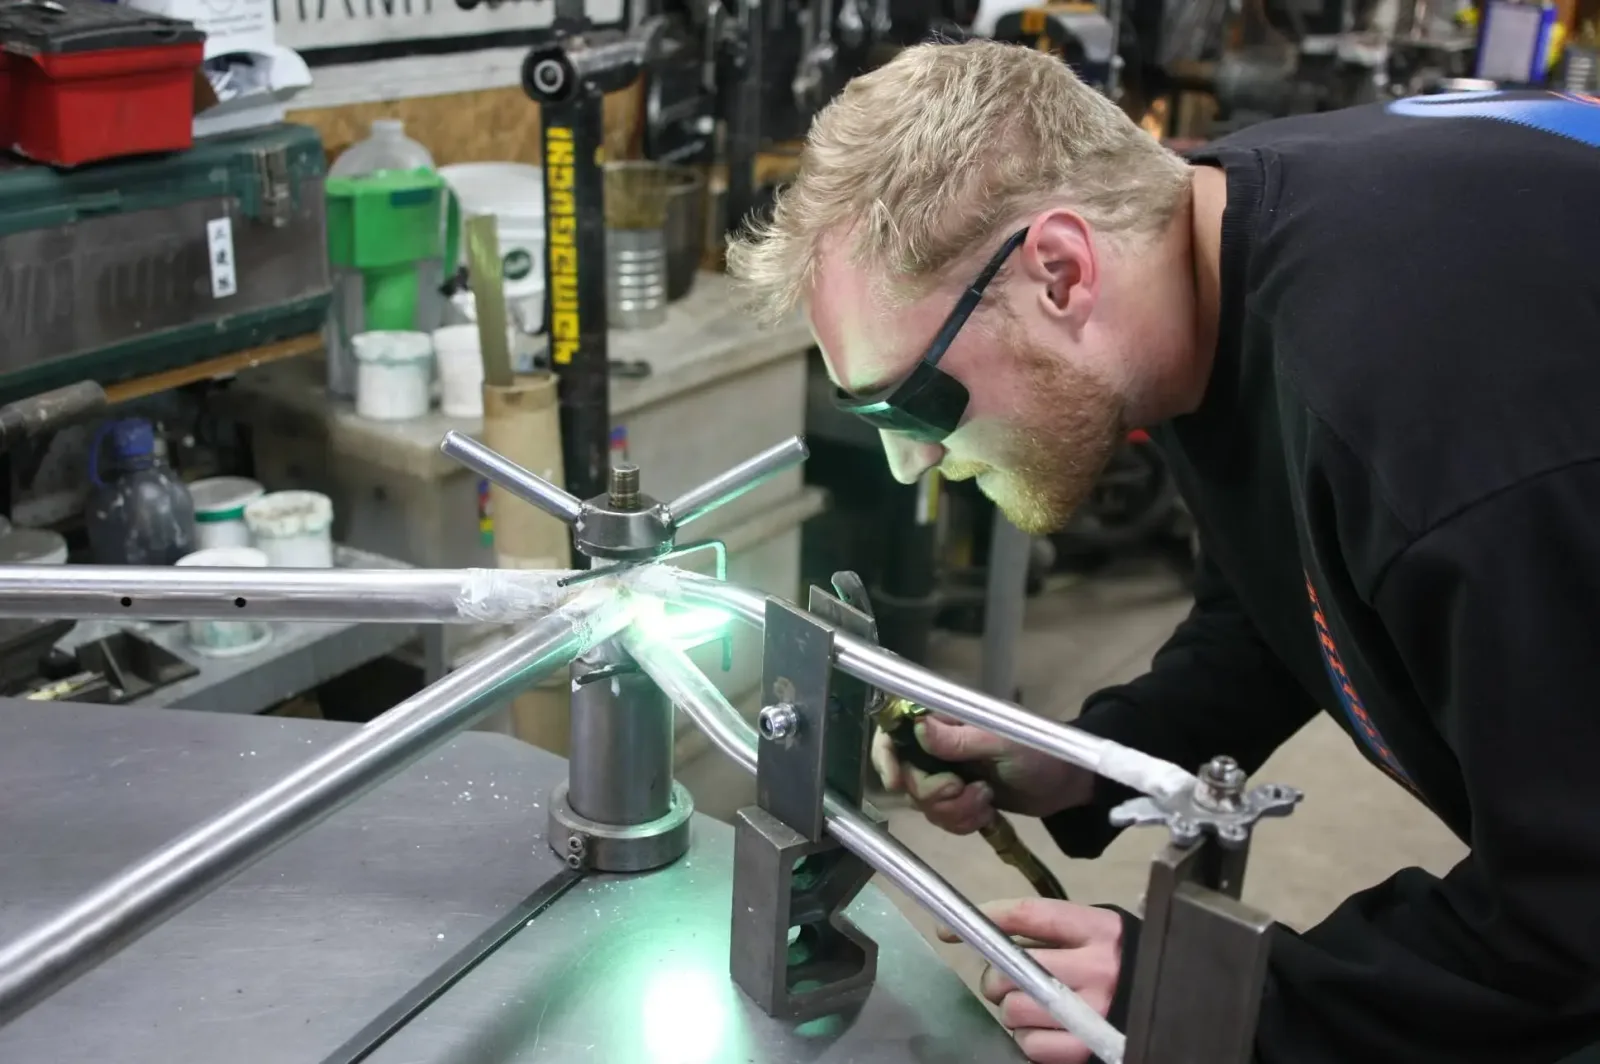
After some history and background, Yamaguchi quickly set us off on honing our brazing technique. This is the critical skill you need to create smooth and structurally sound joints between the steel tubes that compose a handcrafted bike. The initial exercise was to melt brass rods — the brazing material — into stalactite-looking pillars, as a way to practise control over the rod and the temperature.
While unfamiliar at first, this became very fun, and was surprisingly similar to soldering. In a sense it is a very similar process, since the idea is to heat an intermediary material — bronze or silver — into the interface of the steel components. Not unlike fusing IC pins to copper pads on a PCB.
Hand cutting the geometry
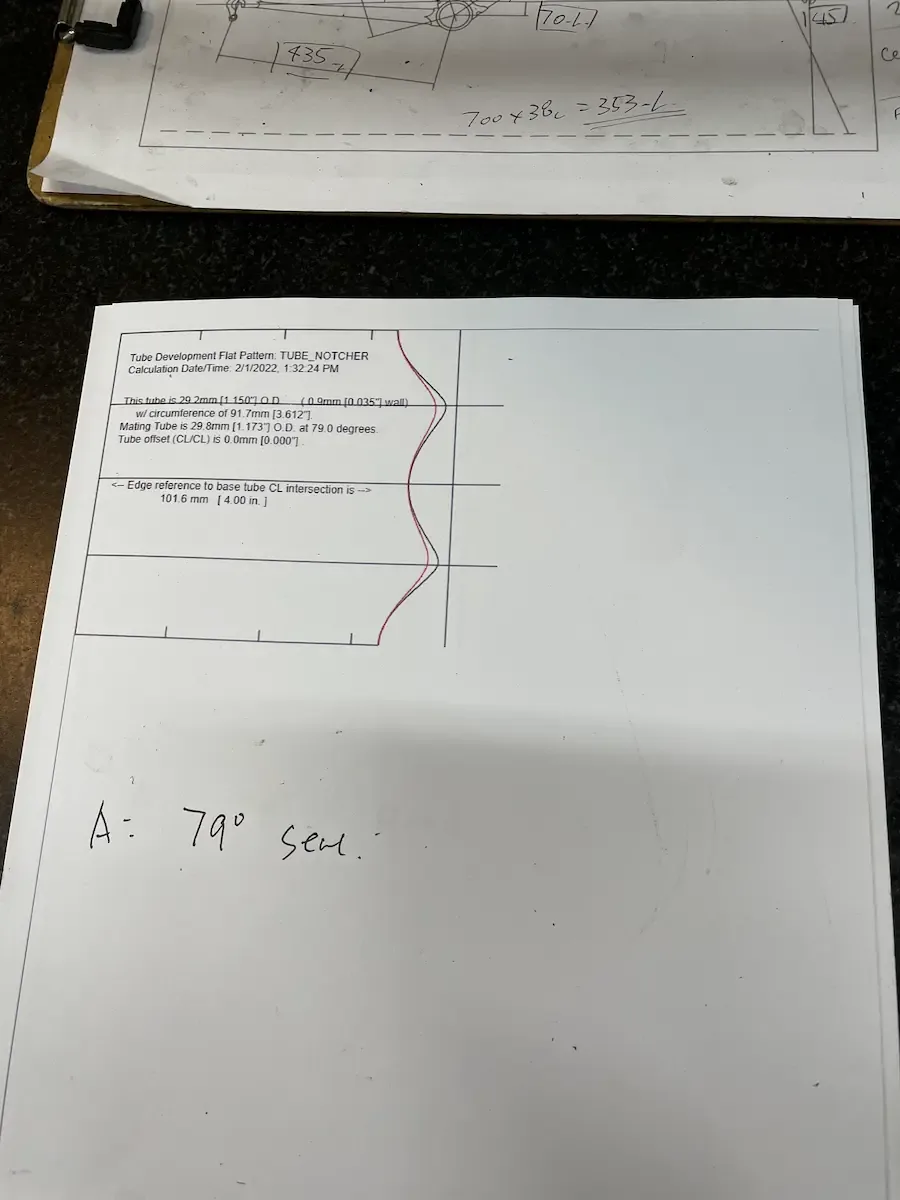
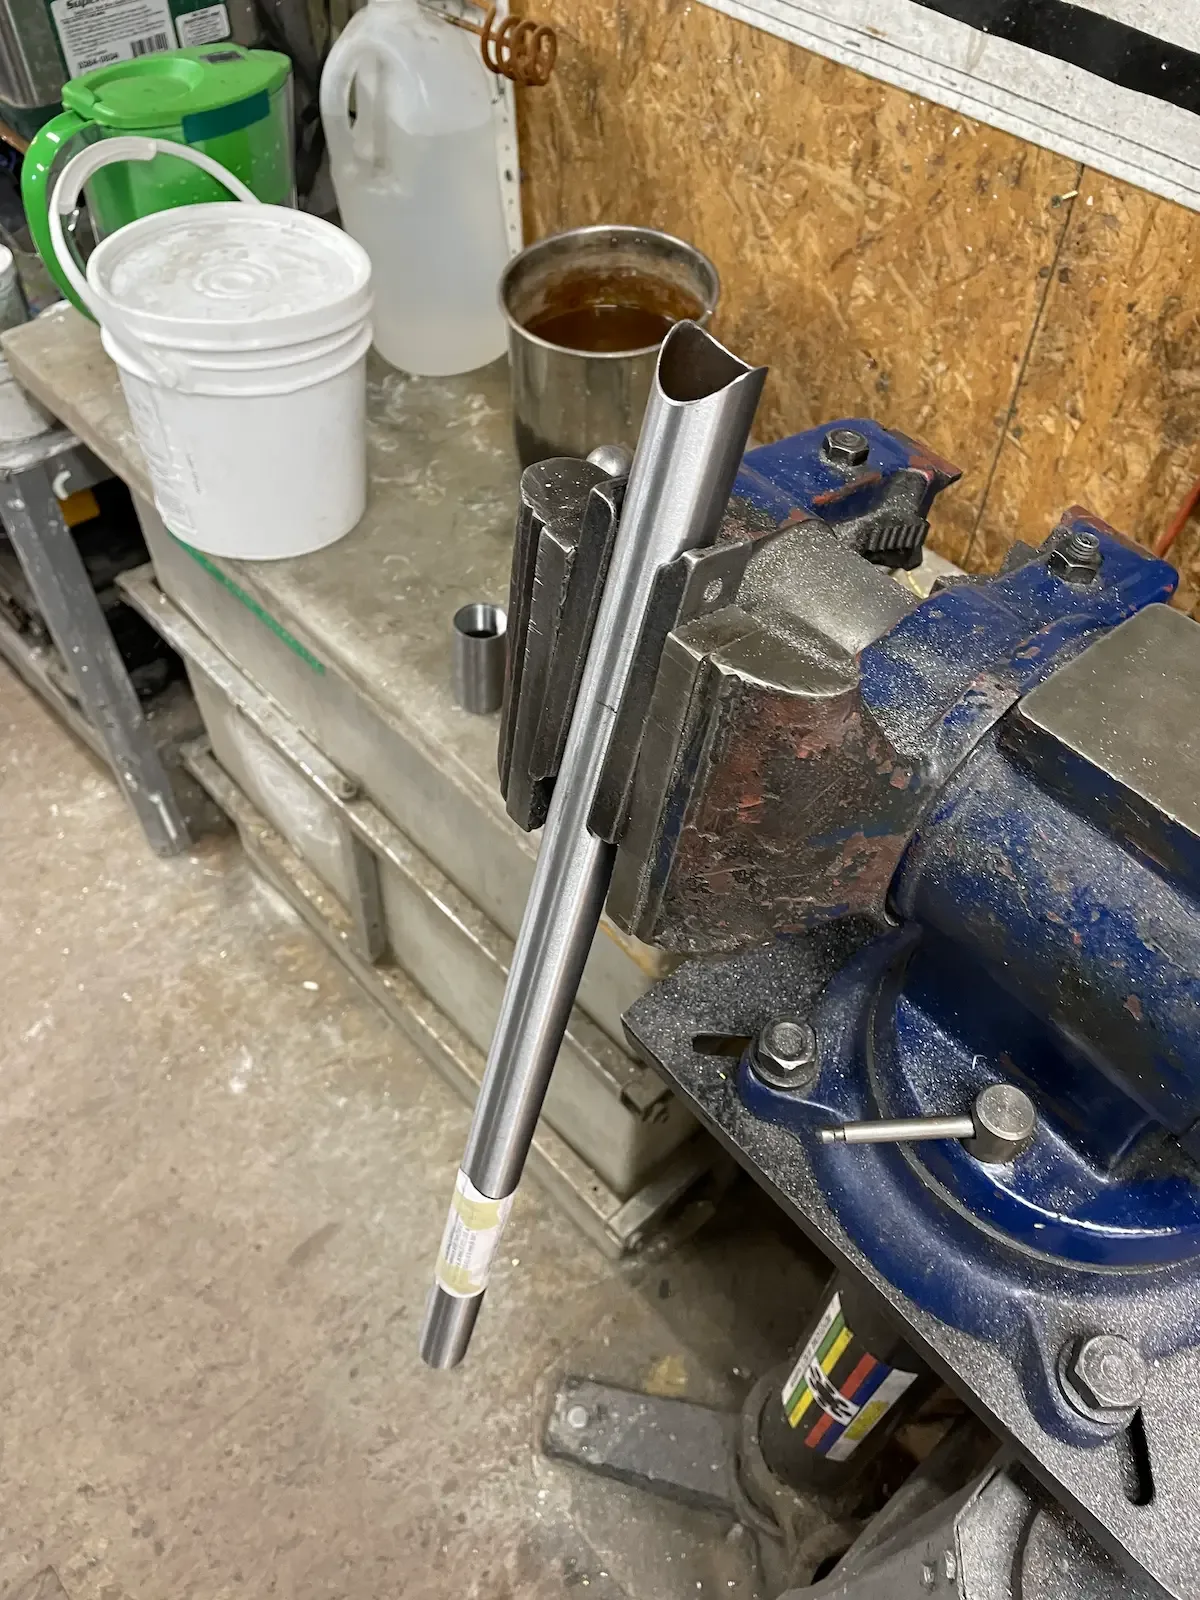
While we practised our brazing, Yamaguchi also showed us the general process for creating a frame from bare tubing. After drawing out our bike geometry based on body measurements and some of our preferences, each interface between tubes would need a circular cut made at the calculated angle in order to butt against the face of another round tube.
In modern machining this might be done with a mill, or even a drill press with a sized cut at an angle. In Koichi’s class, however, we were to make all of these cuts by hand. To calculate the shape of the cuts, we plugged our dimensions and angles into a site that computes the unfurled wave shape onto a flat axis, so that you can print it out and tape the curved shape onto the tube to mark it. From there, everything was painstaking hand sawing and filing with an assortment of round files.
Tacking the shape
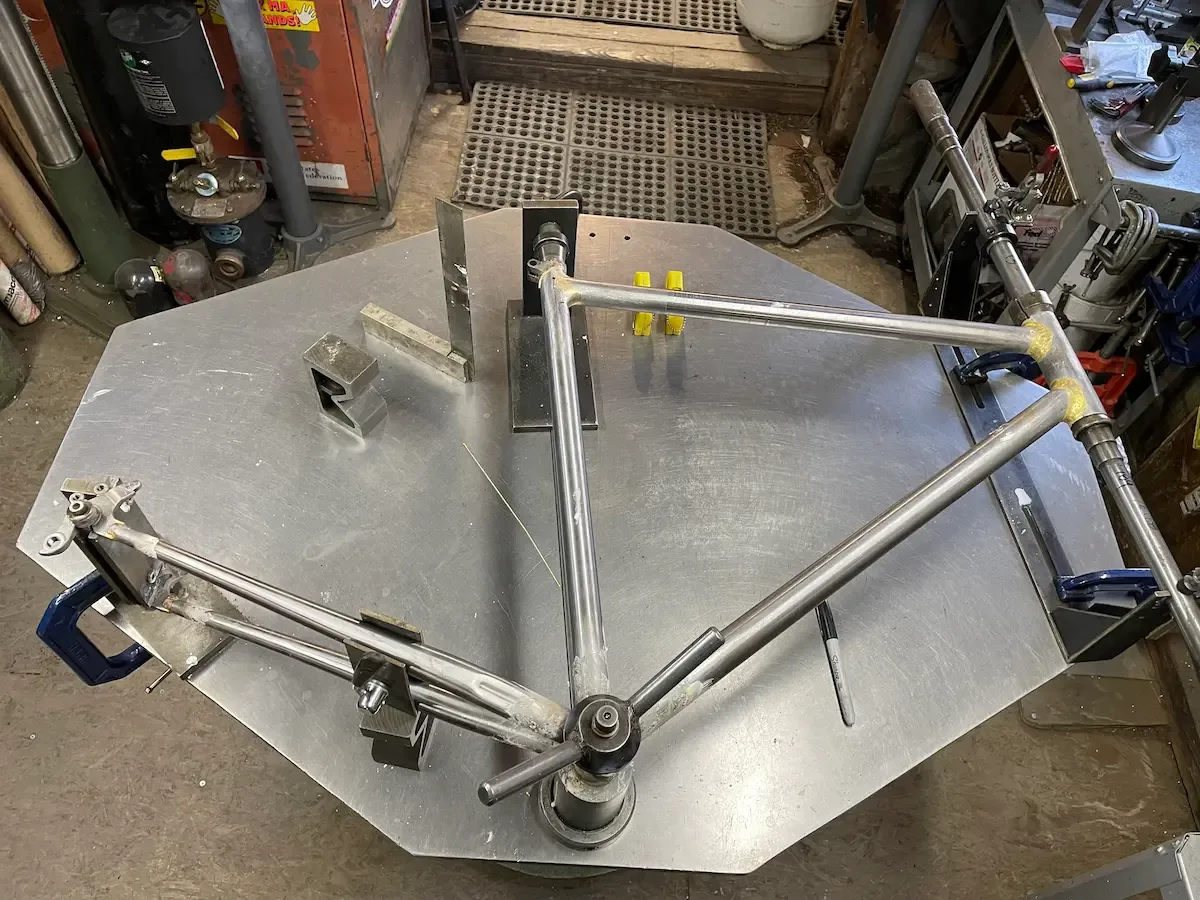
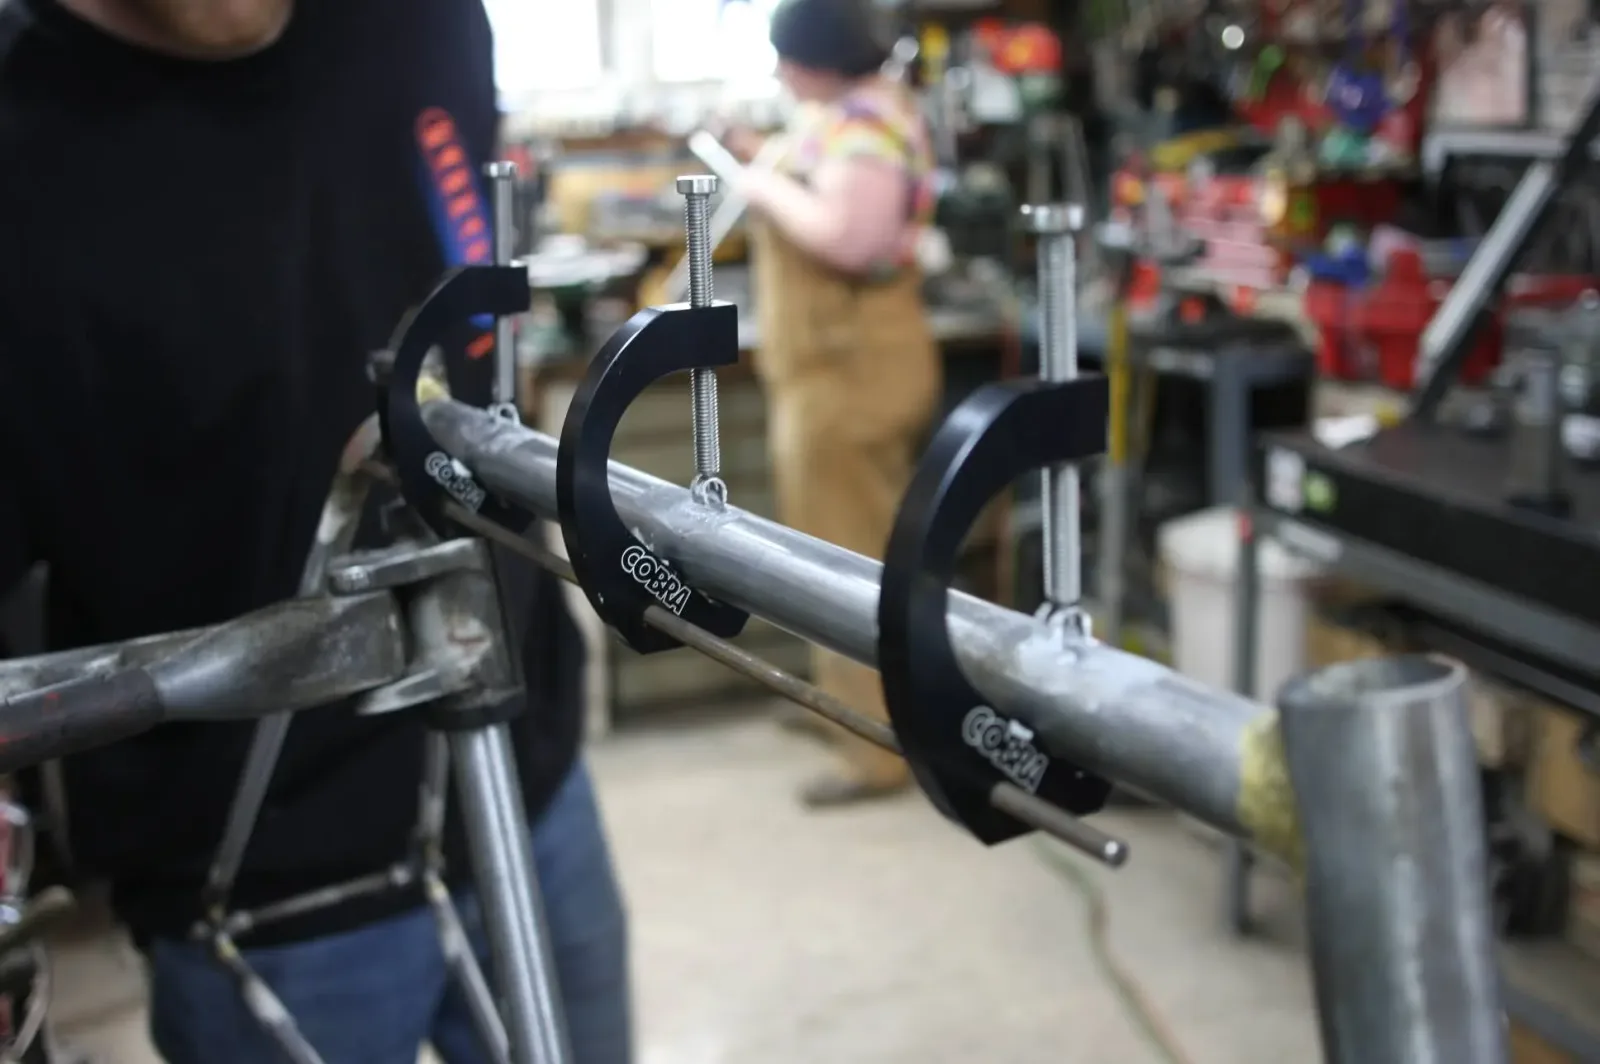
Once we had cut and fit-tested all the structural parts of our frames, we carefully assembled our bikes on an extremely level granite table, with precise measurement instruments and gauges to ensure the bike was clamped in a perfectly level plane. Once we — read: Koichi — were satisfied with the dry fit, we would tack weld each of the joints to hold the fit in place. Surprisingly, Yamaguchi told us that at this point, with even just the tack weld, our bikes would be 100% structurally sound.
Adding the fillets
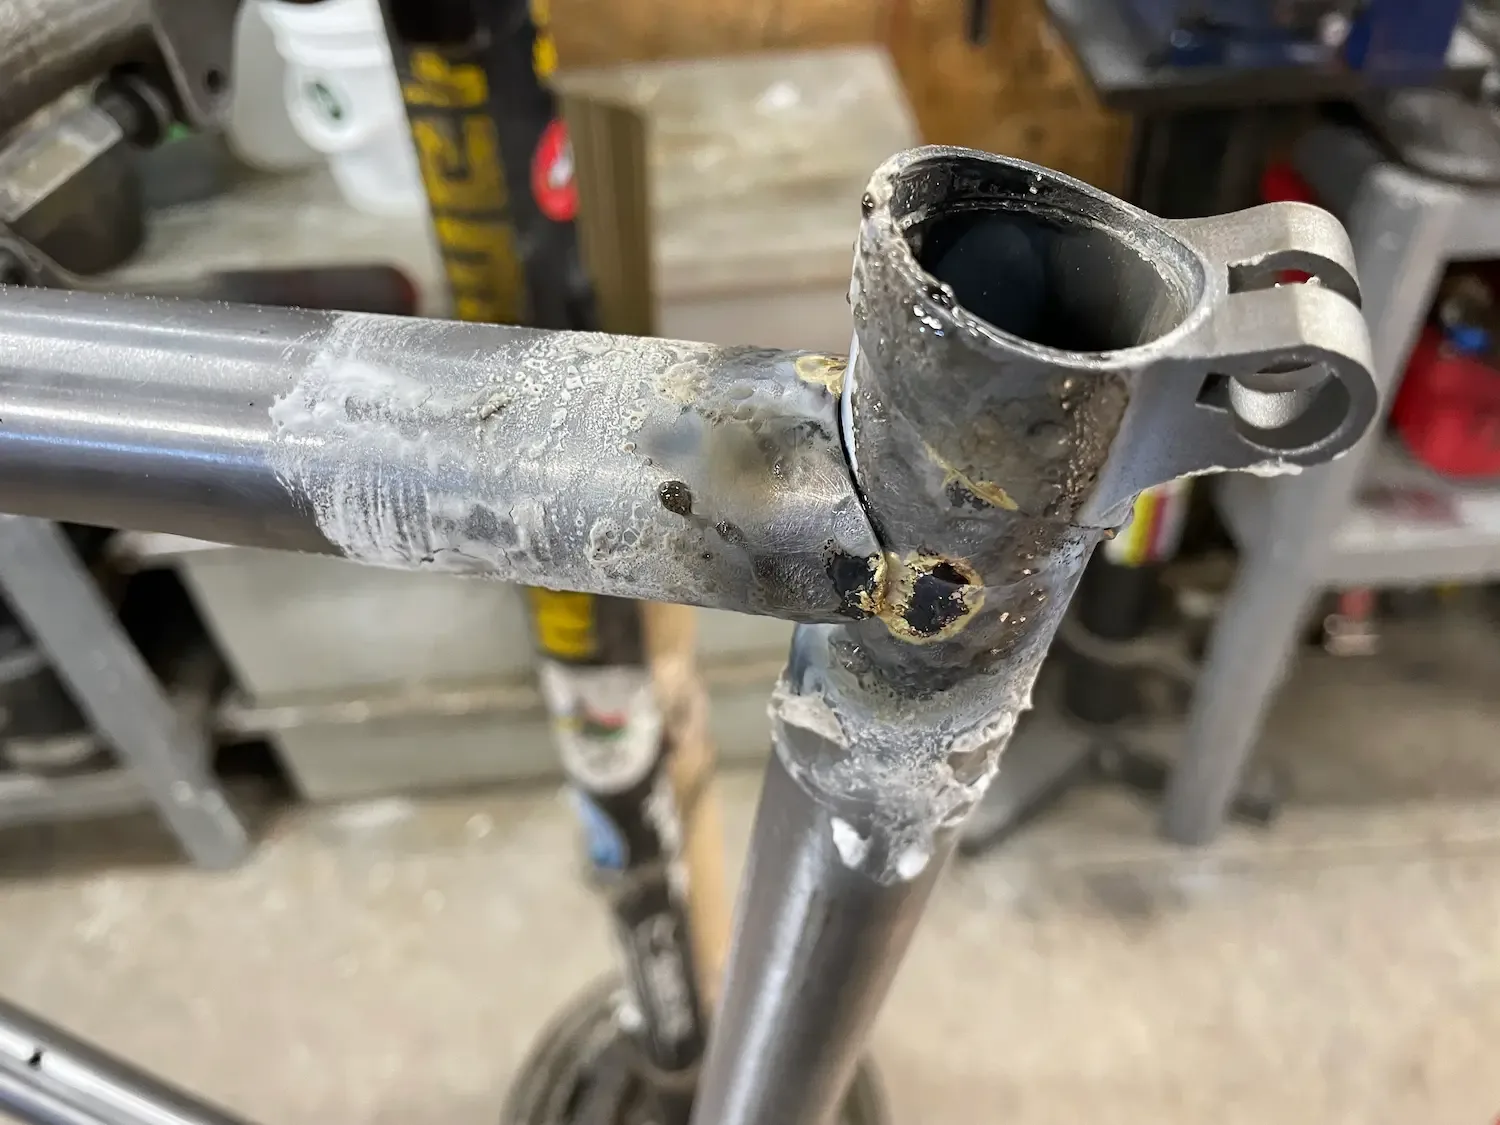
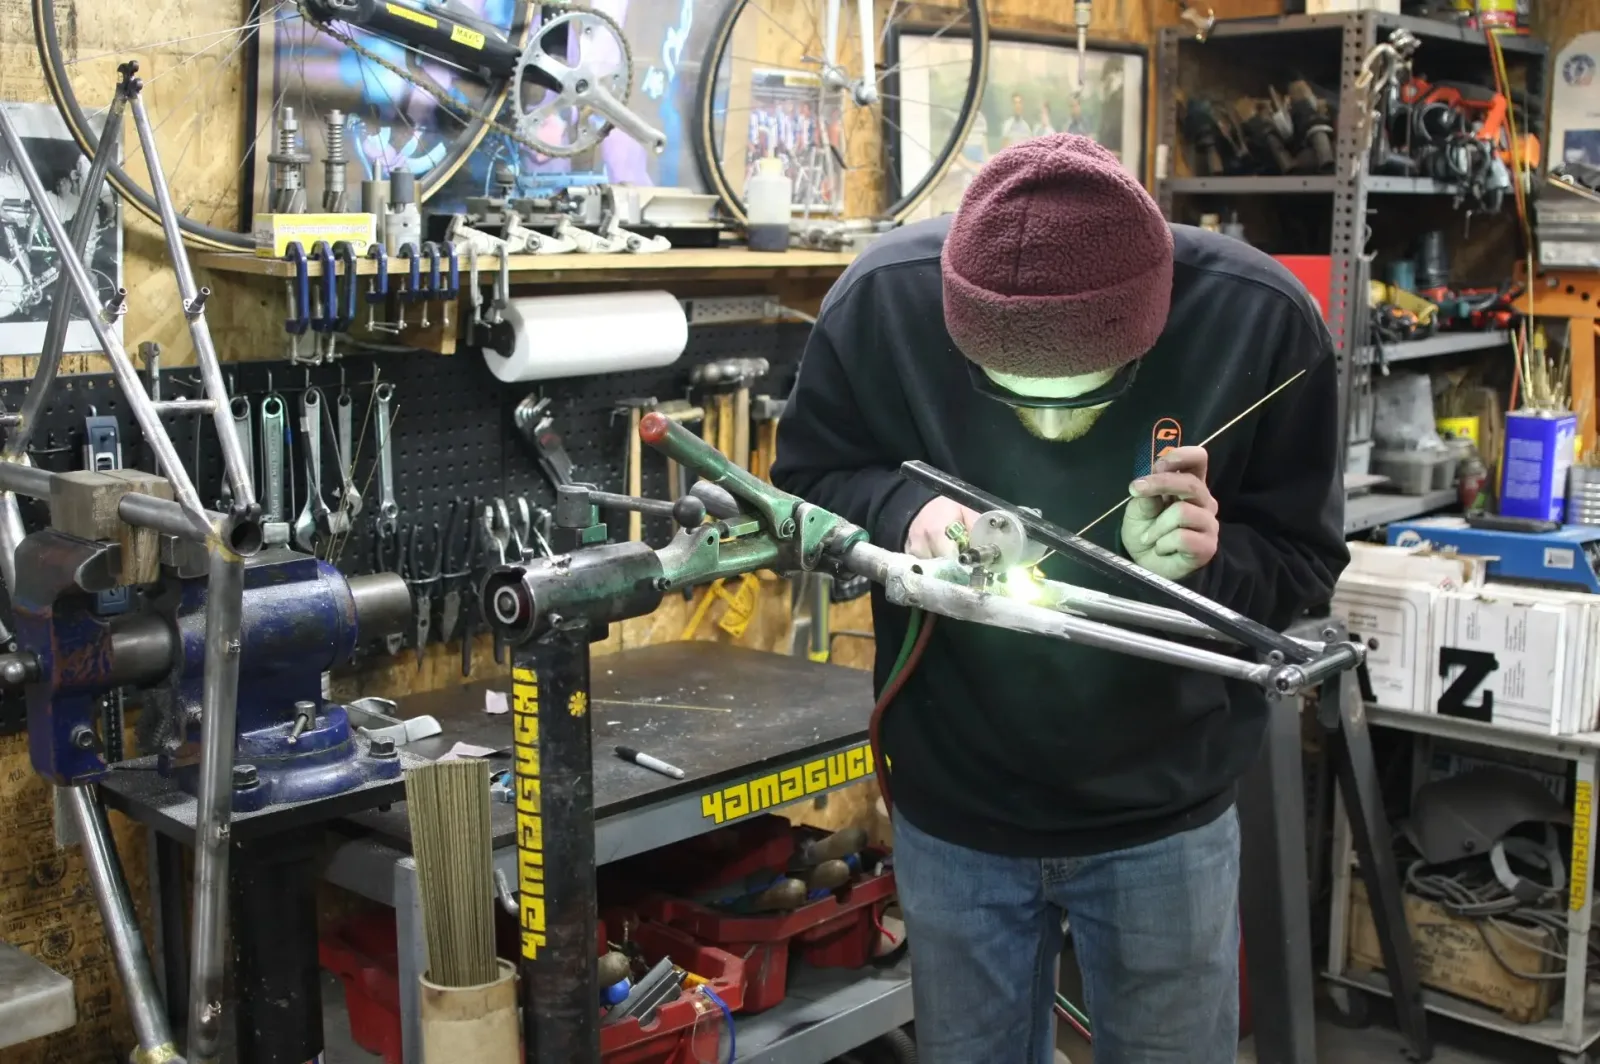
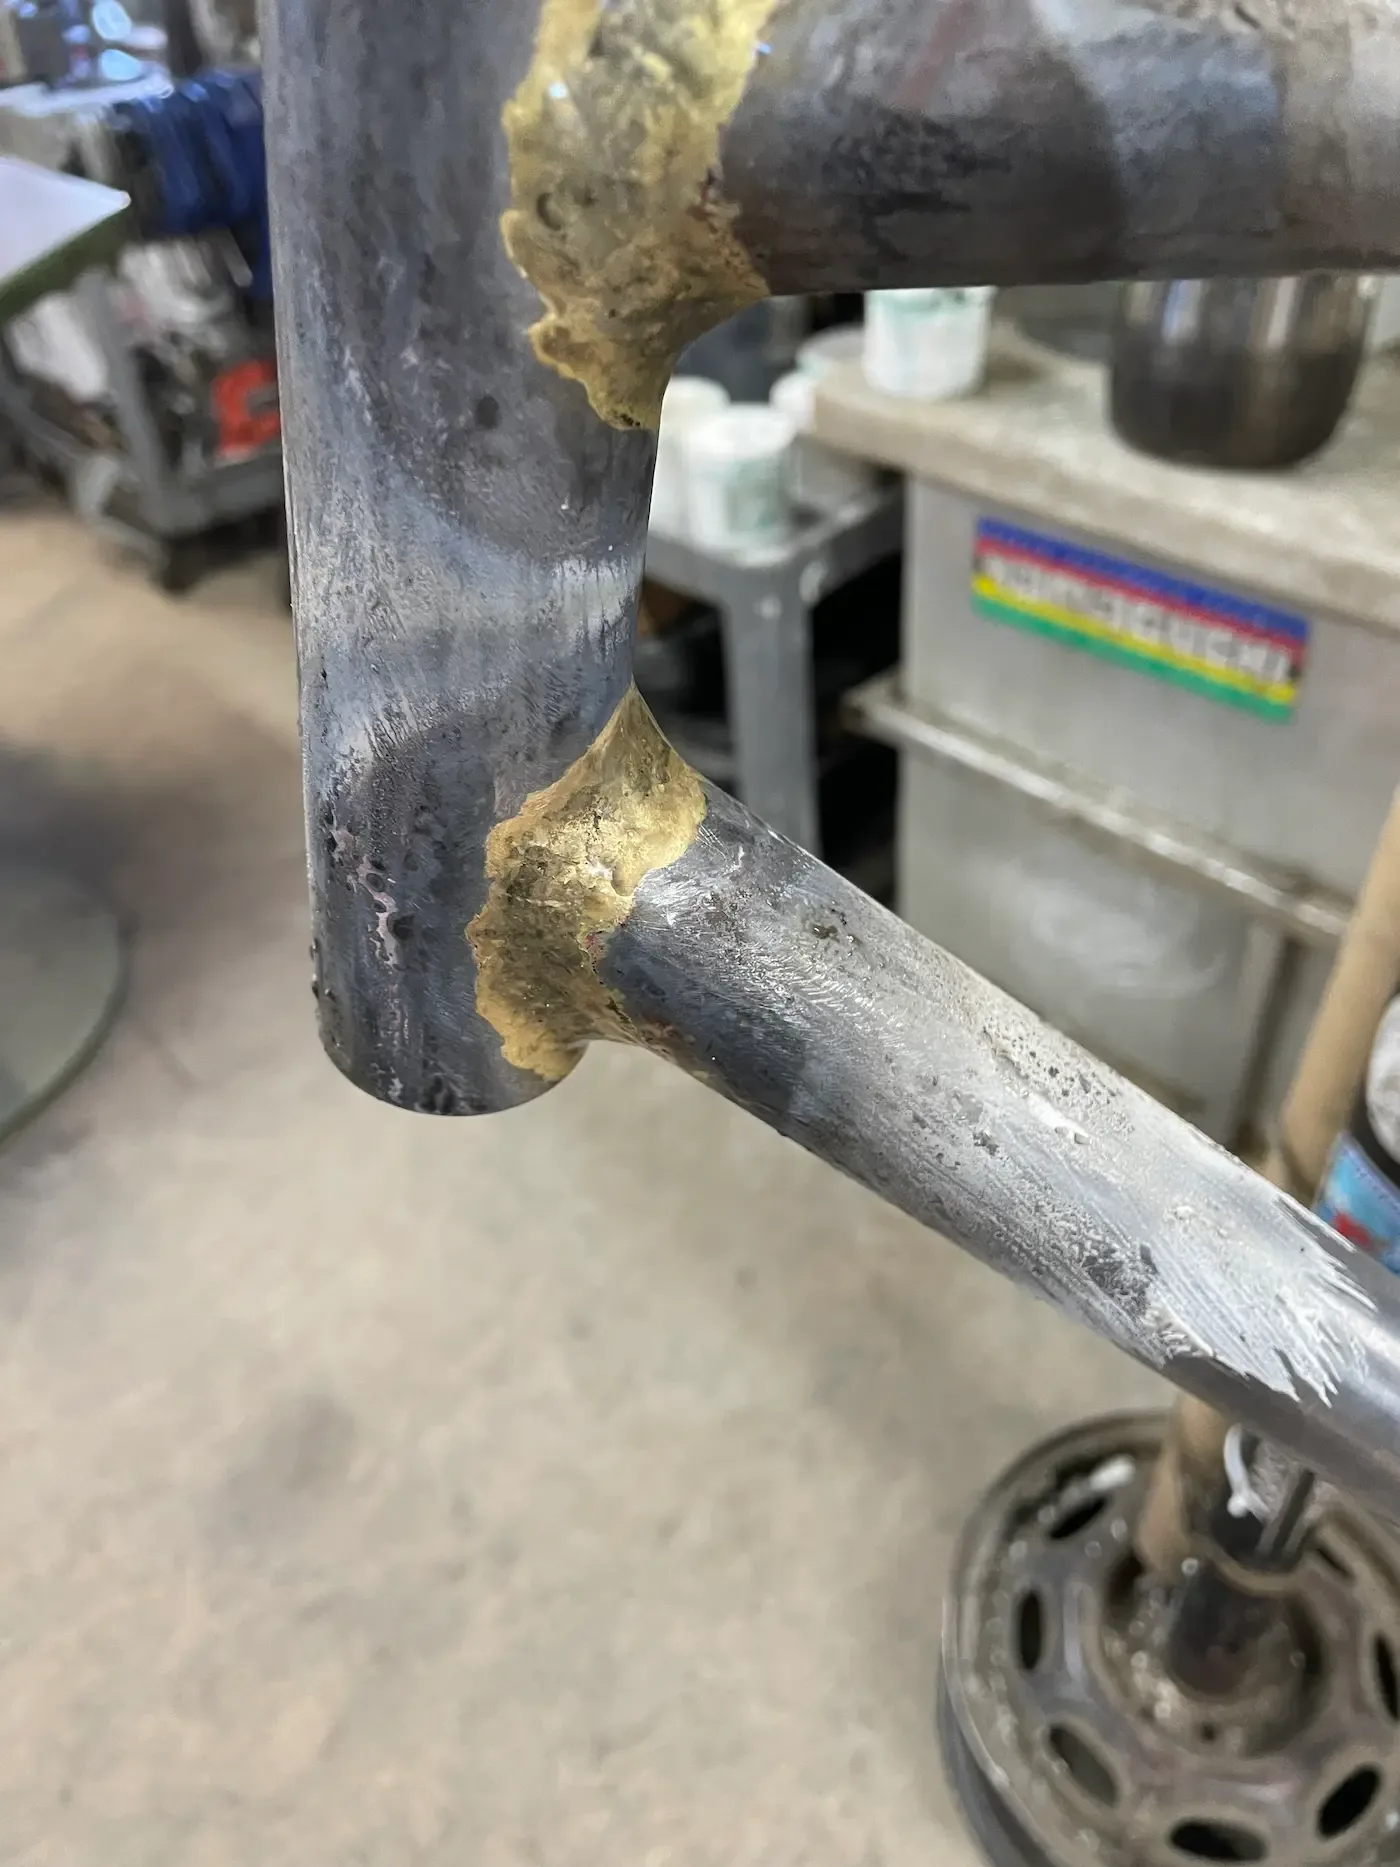
Of course, we want to make this bike look nice. Adding the fillets doesn't only increase structural integrity, it also smooths out the joints and keeps water from entering the interior of the tubing. It provides a smooth surface for painting, and the polished, professional look.
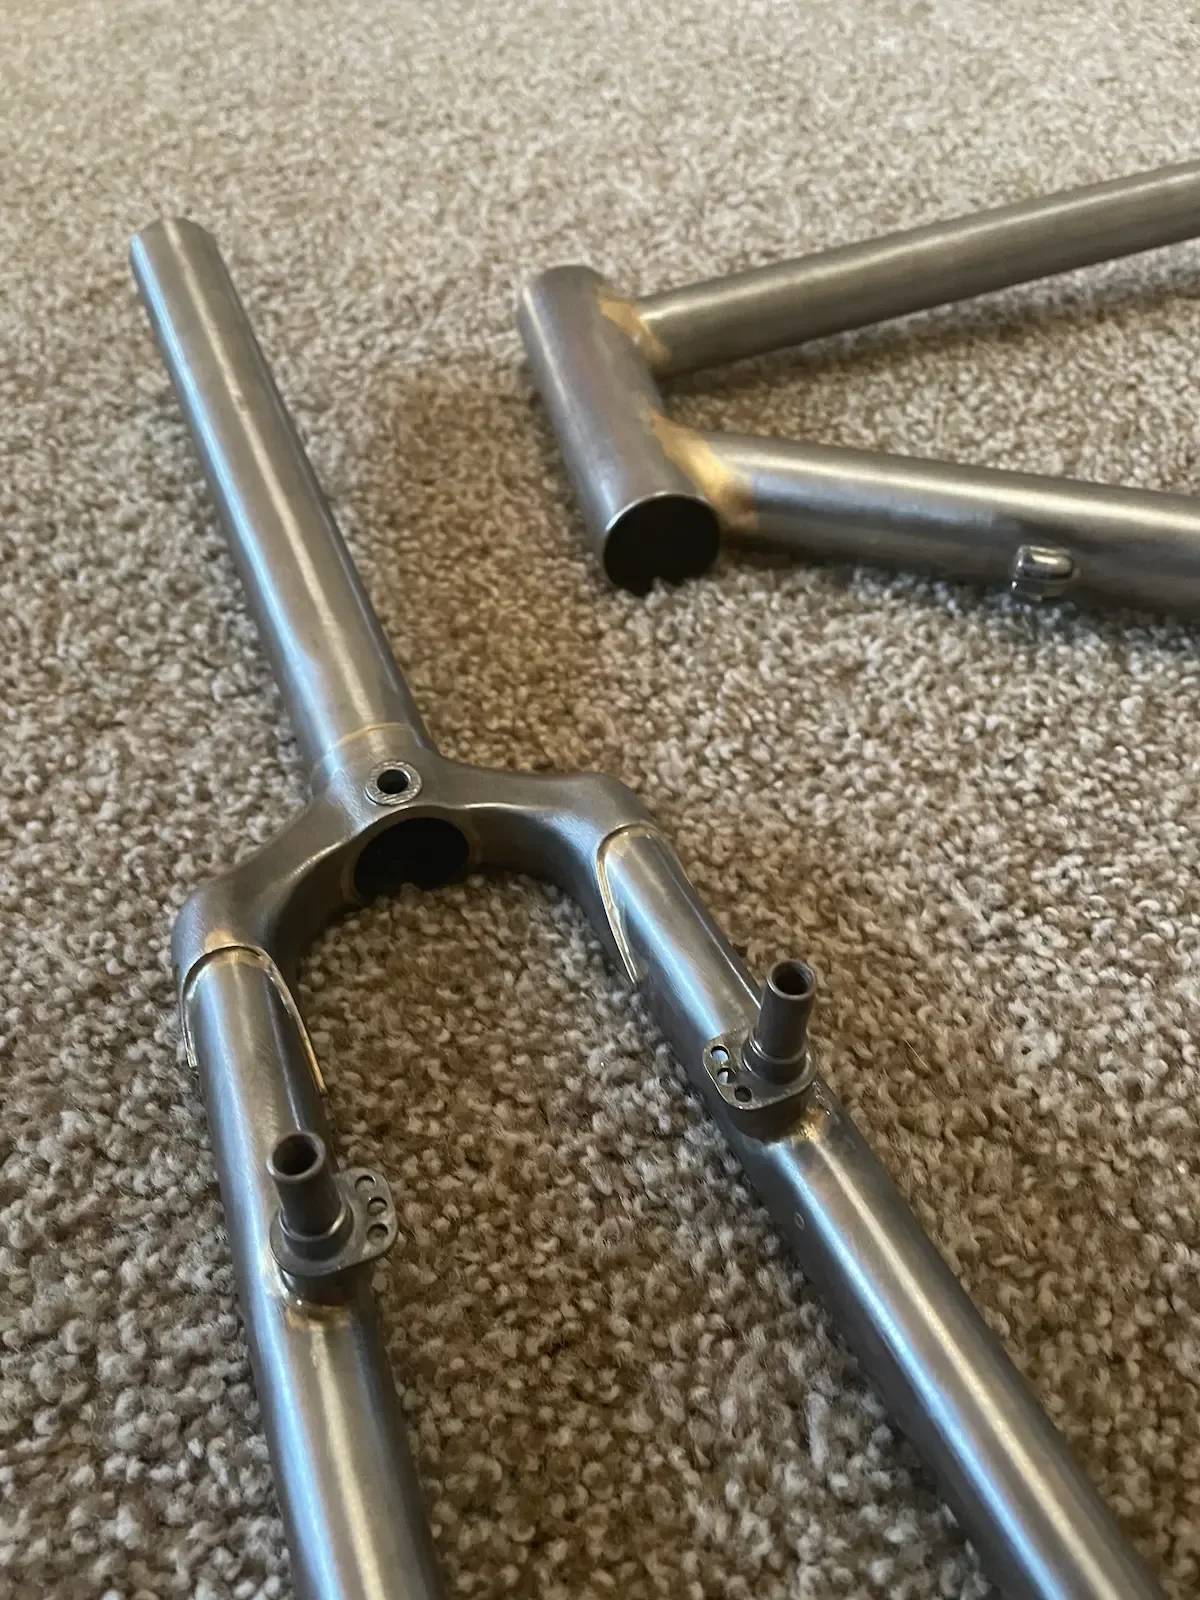
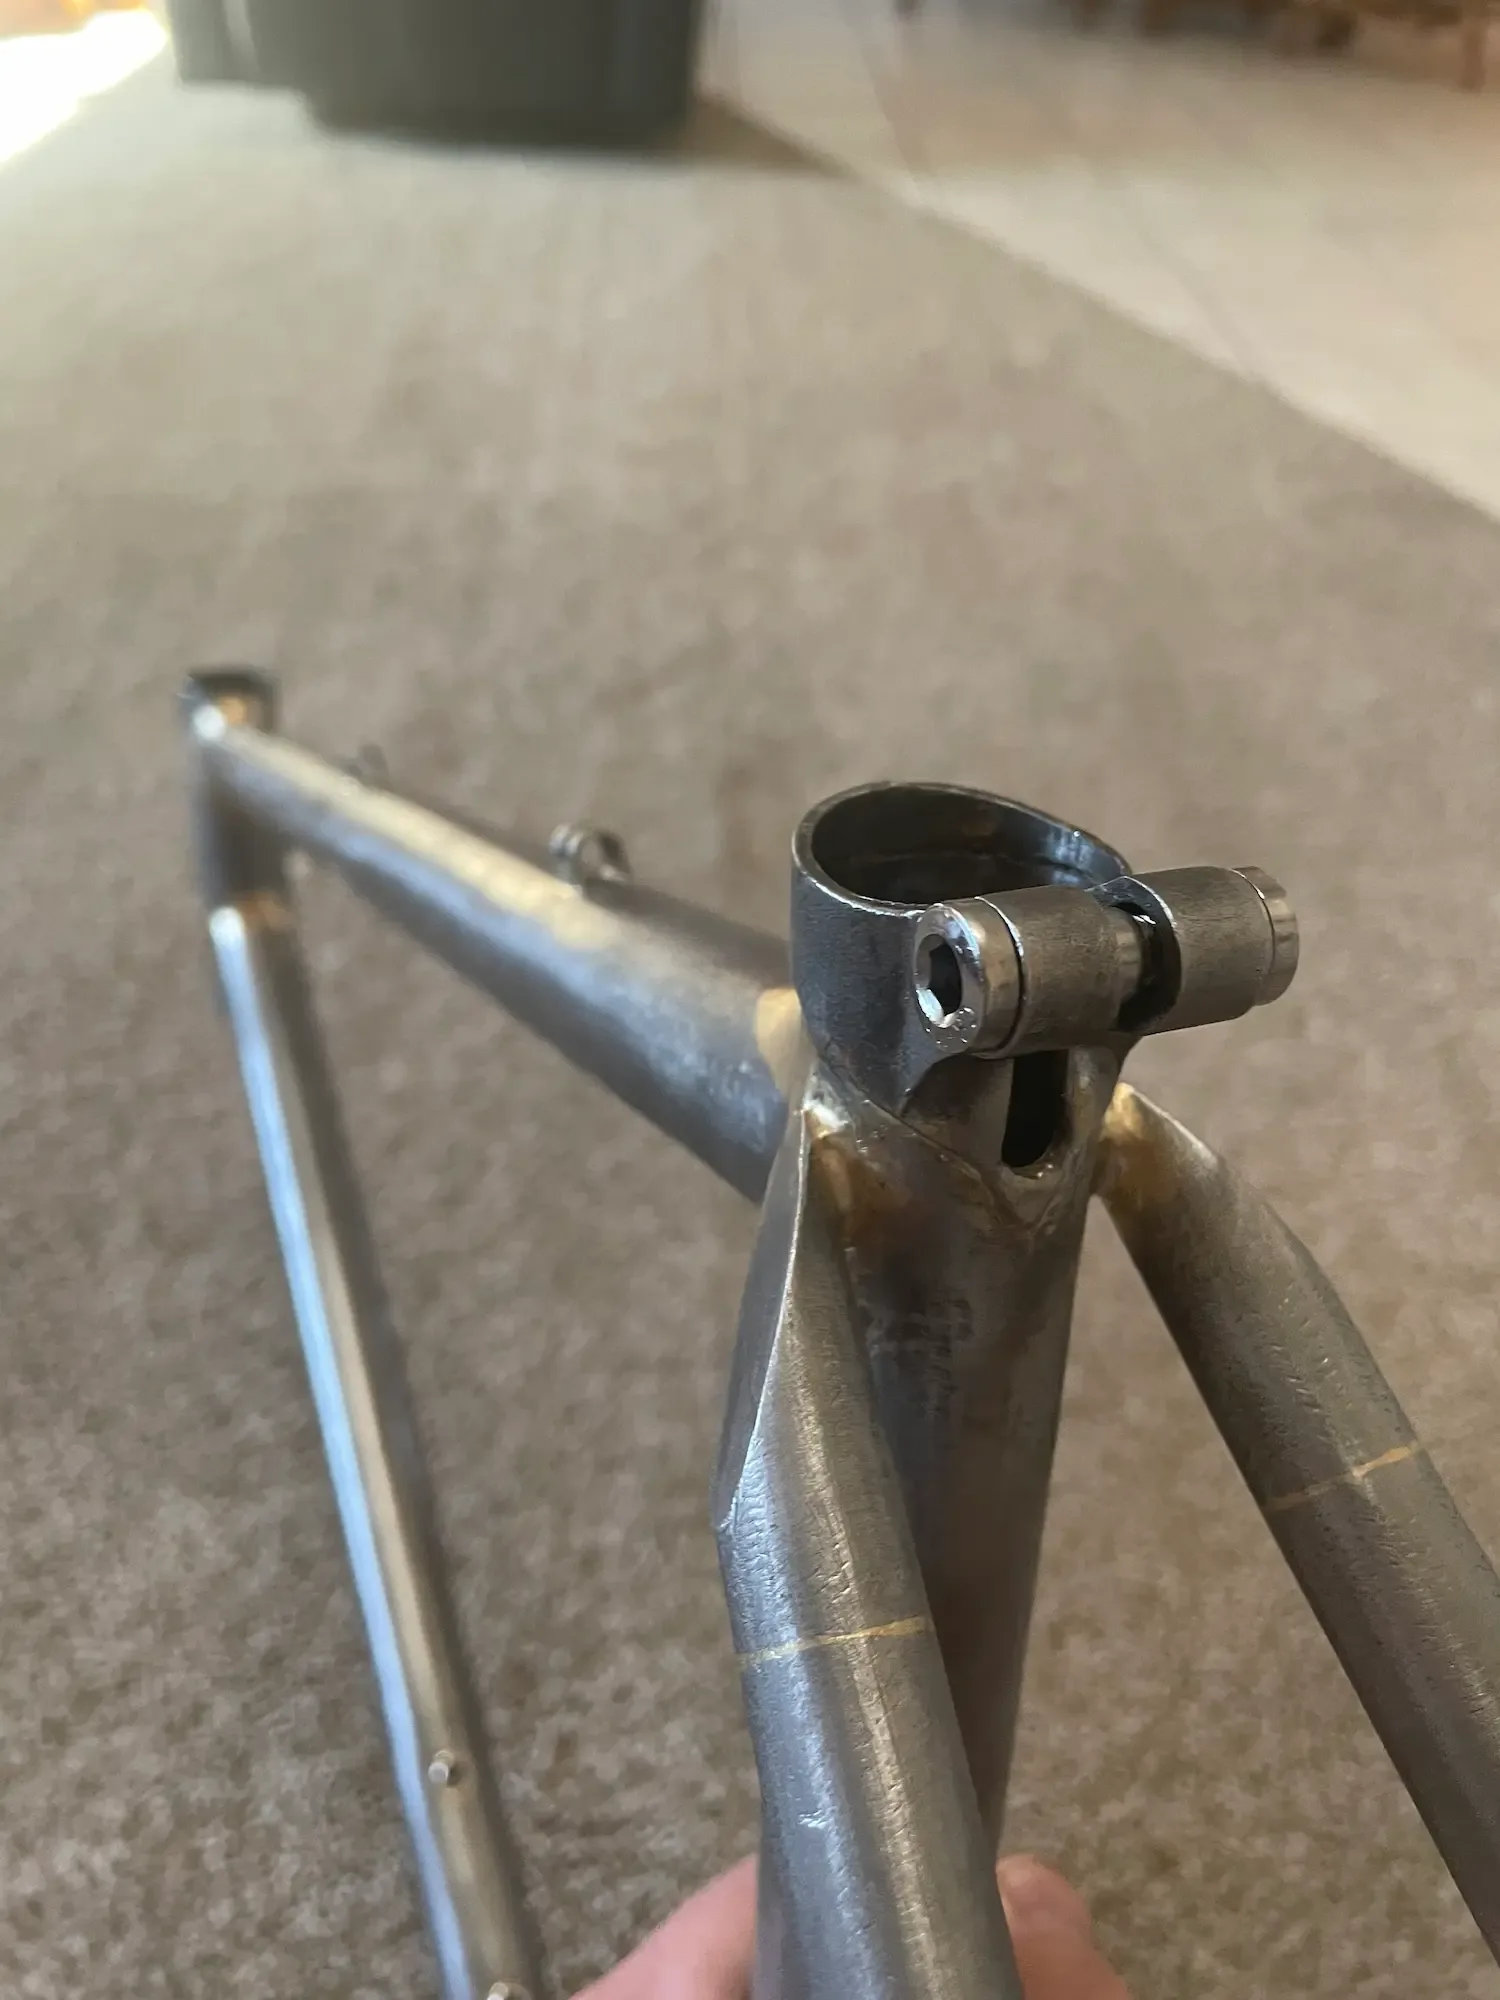
There were additions to make to the base frame as well: cuts for the seat post to slide into the seat tube and be secured, hanging bolts for the derailleur, and the necessary ferrule stops and guides for the shift and brake lines needed at assembly.
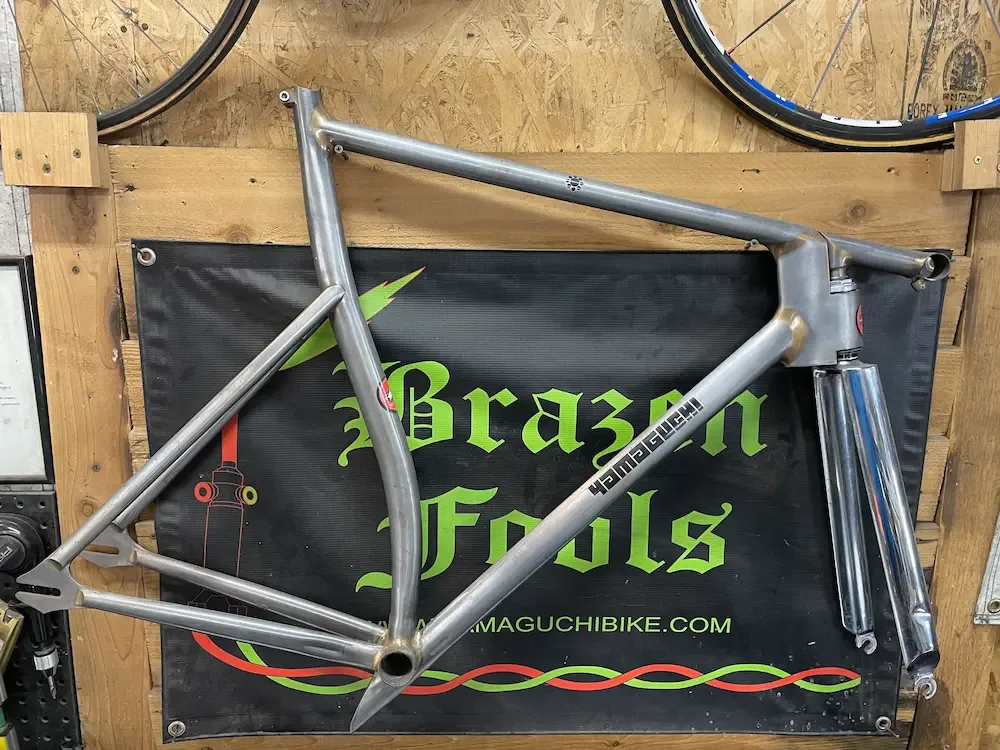
The finished frame
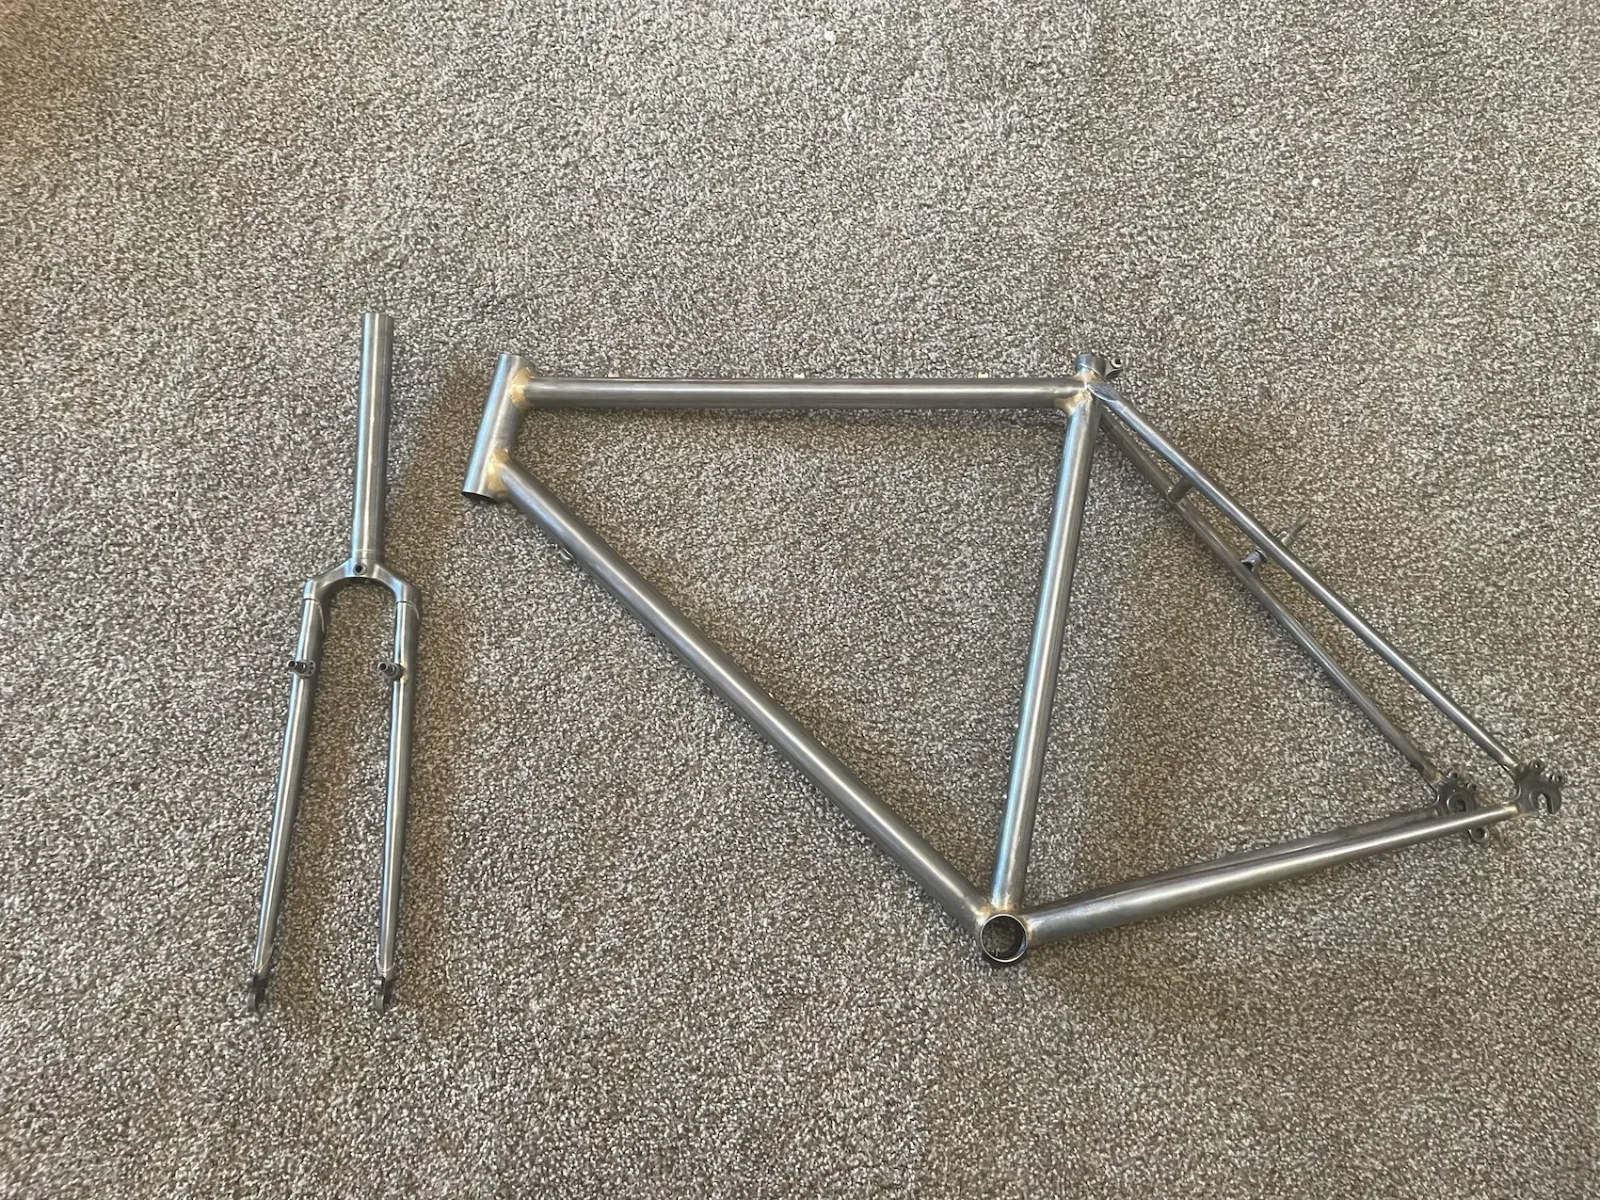
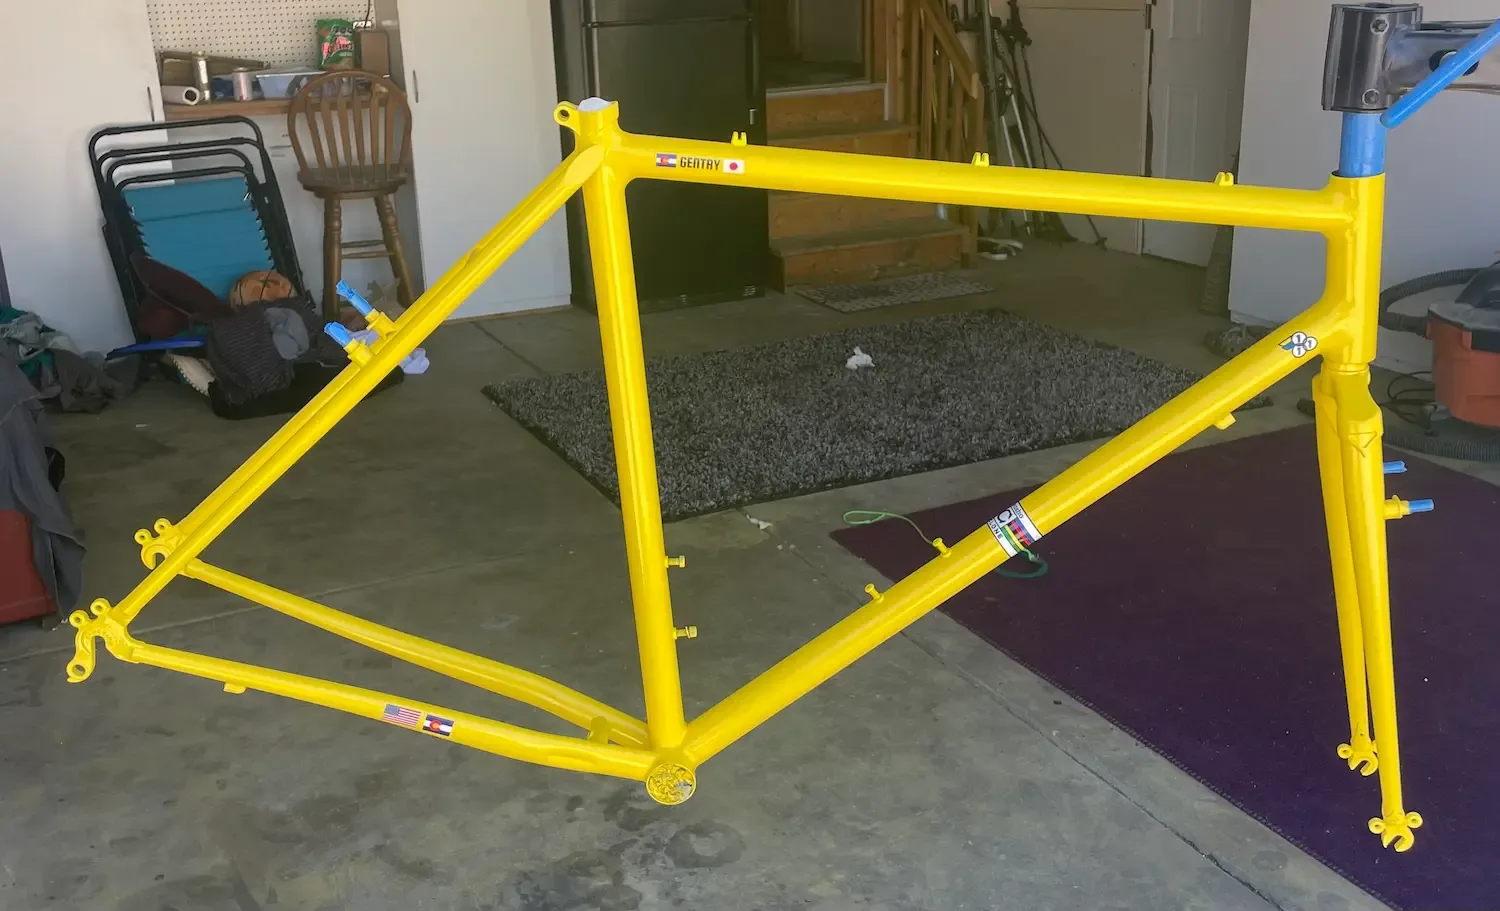
The complete frame was sanded down by hand for almost an entire day — but after that, it was complete. Ready for a paint job, though looking at all the welds and cuts was so satisfying that I almost did not want to paint it.
Making it pretty
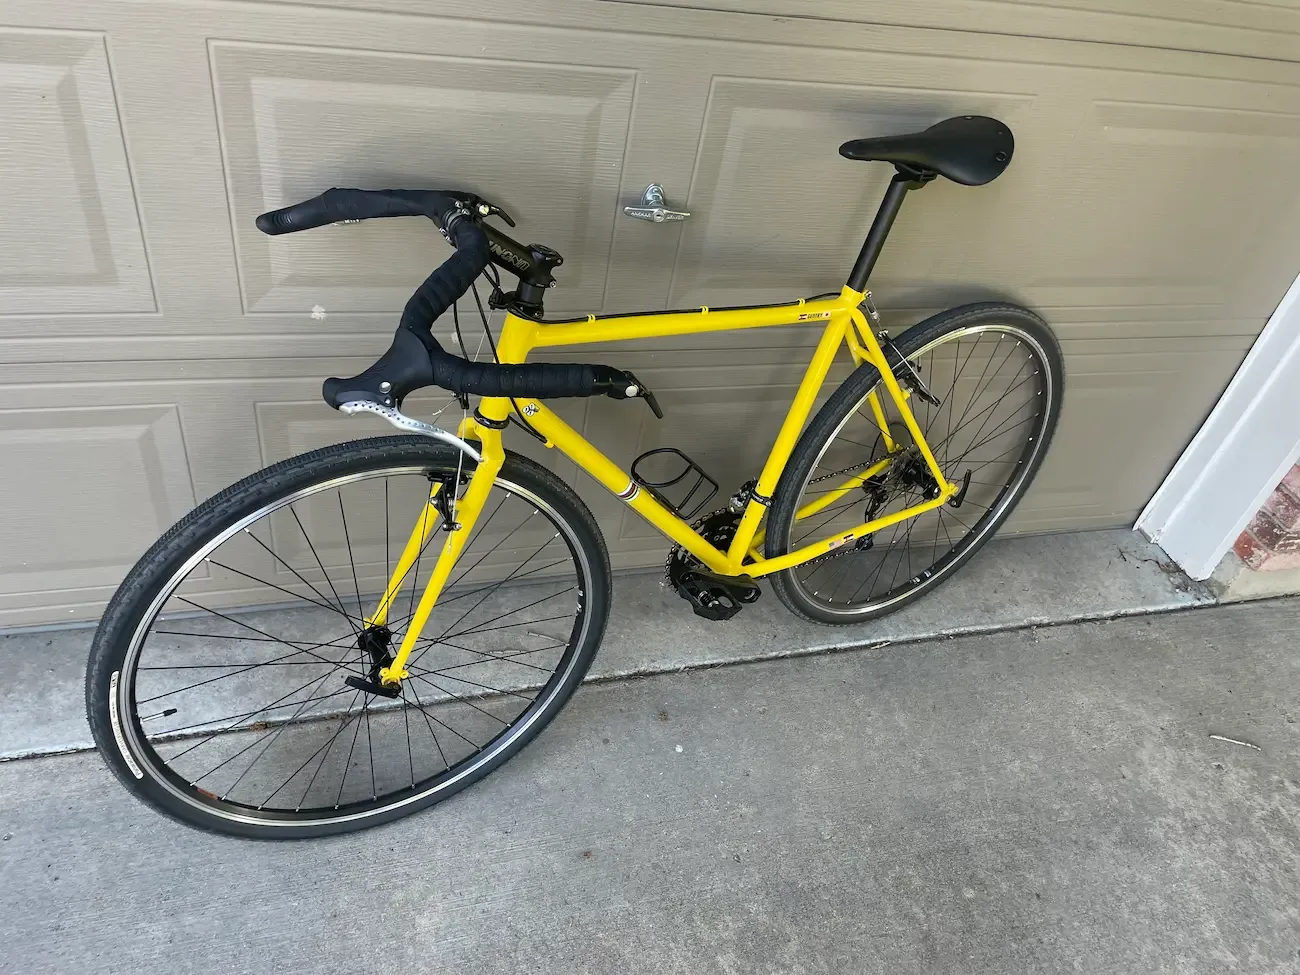
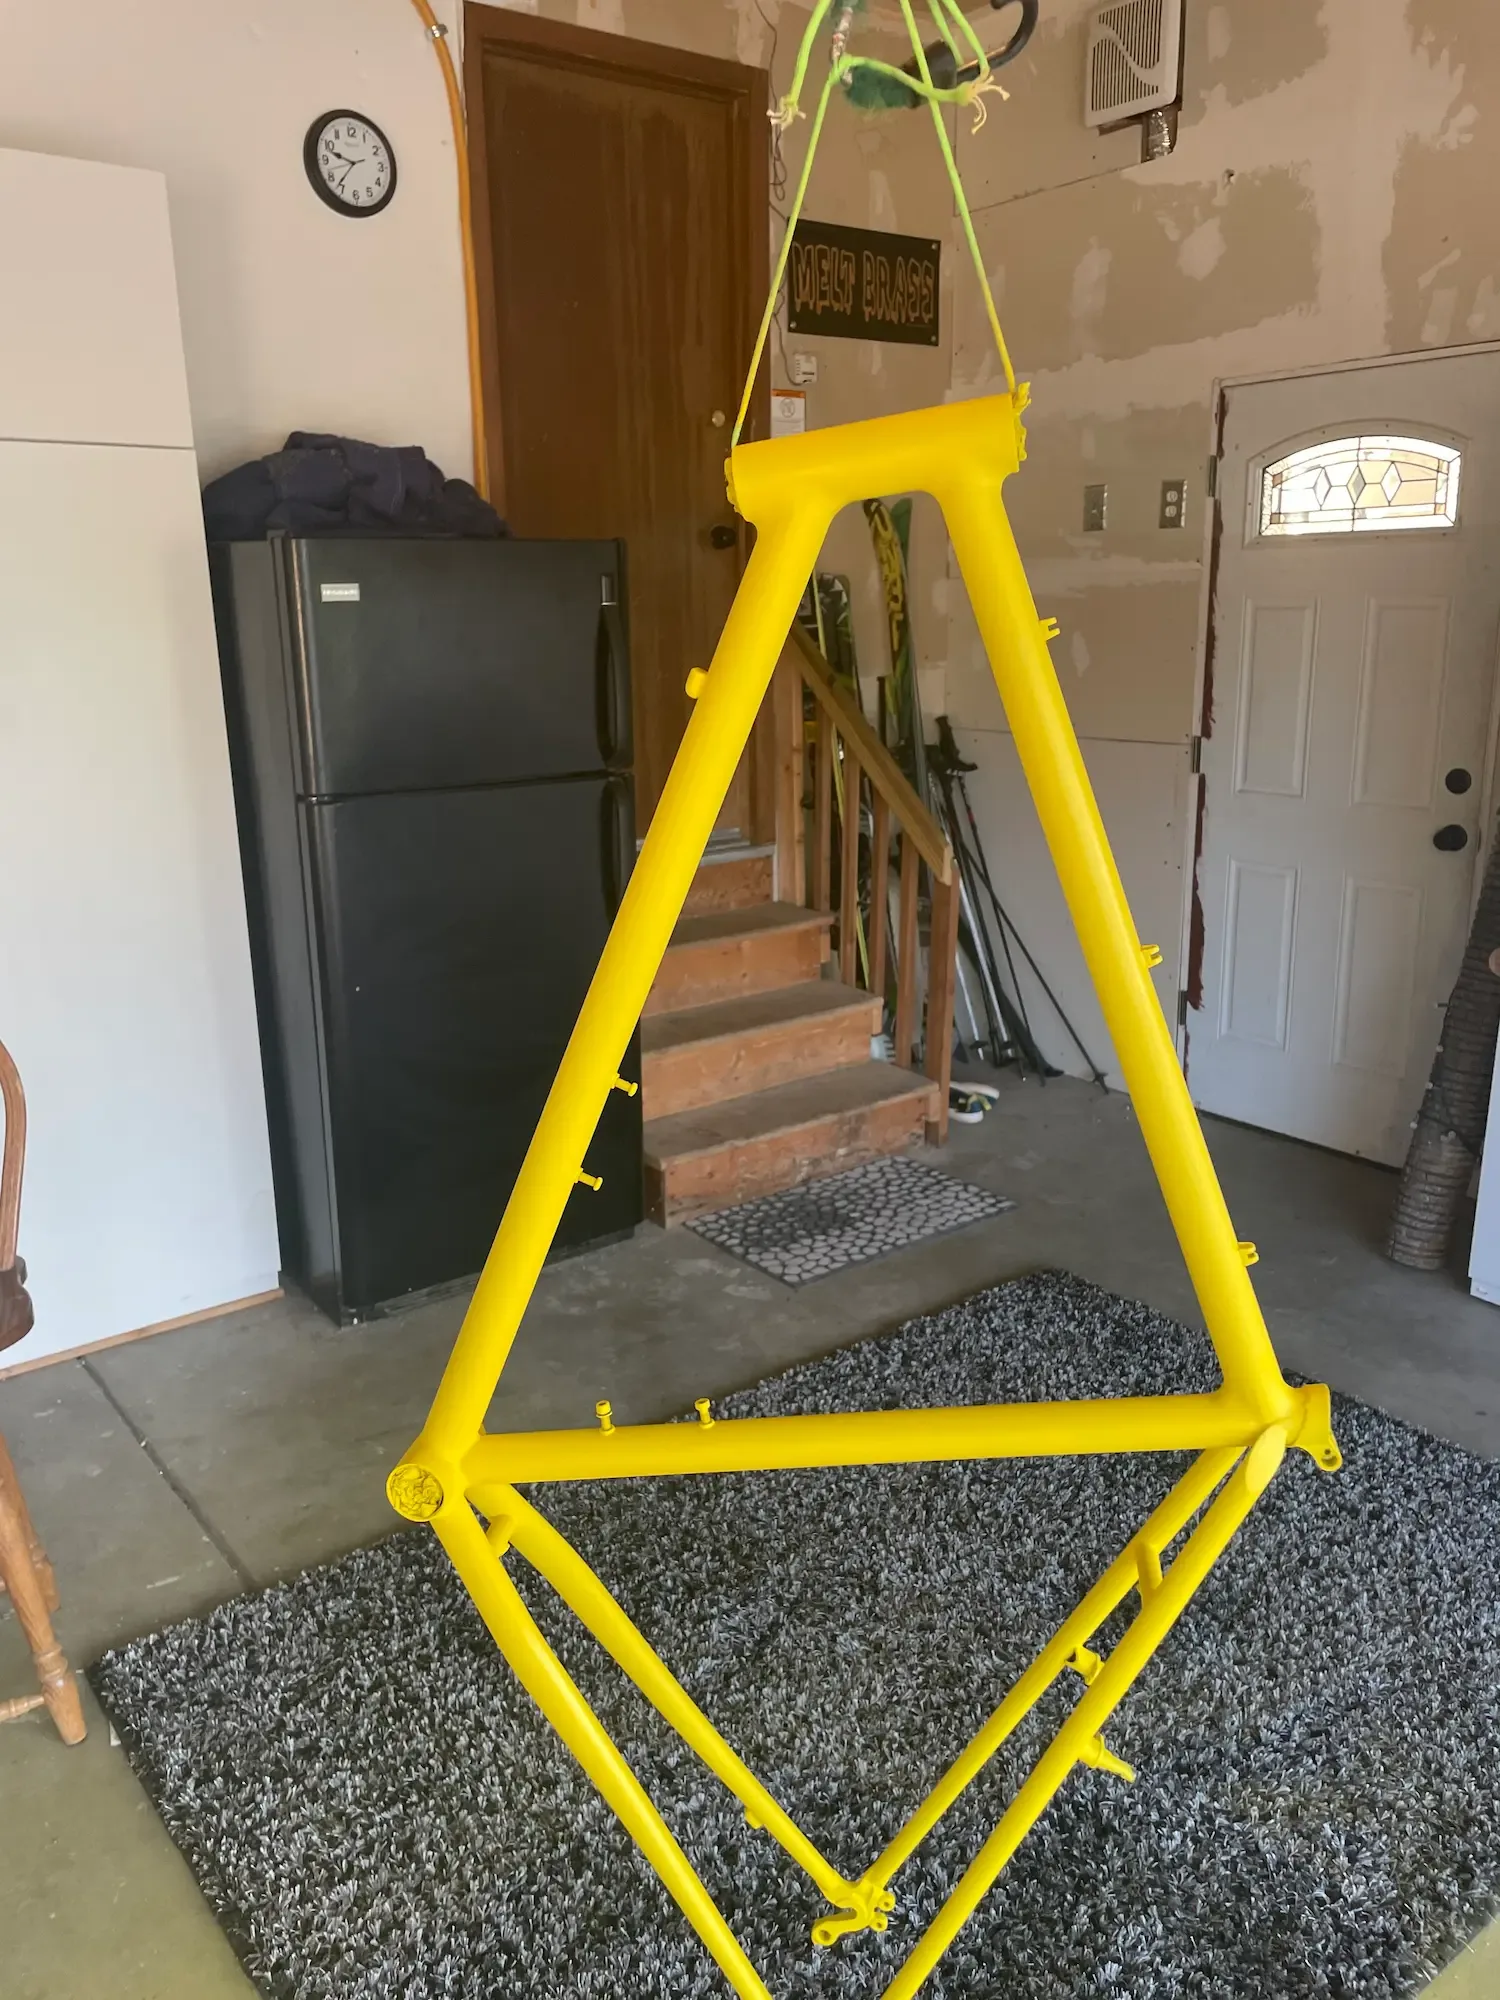
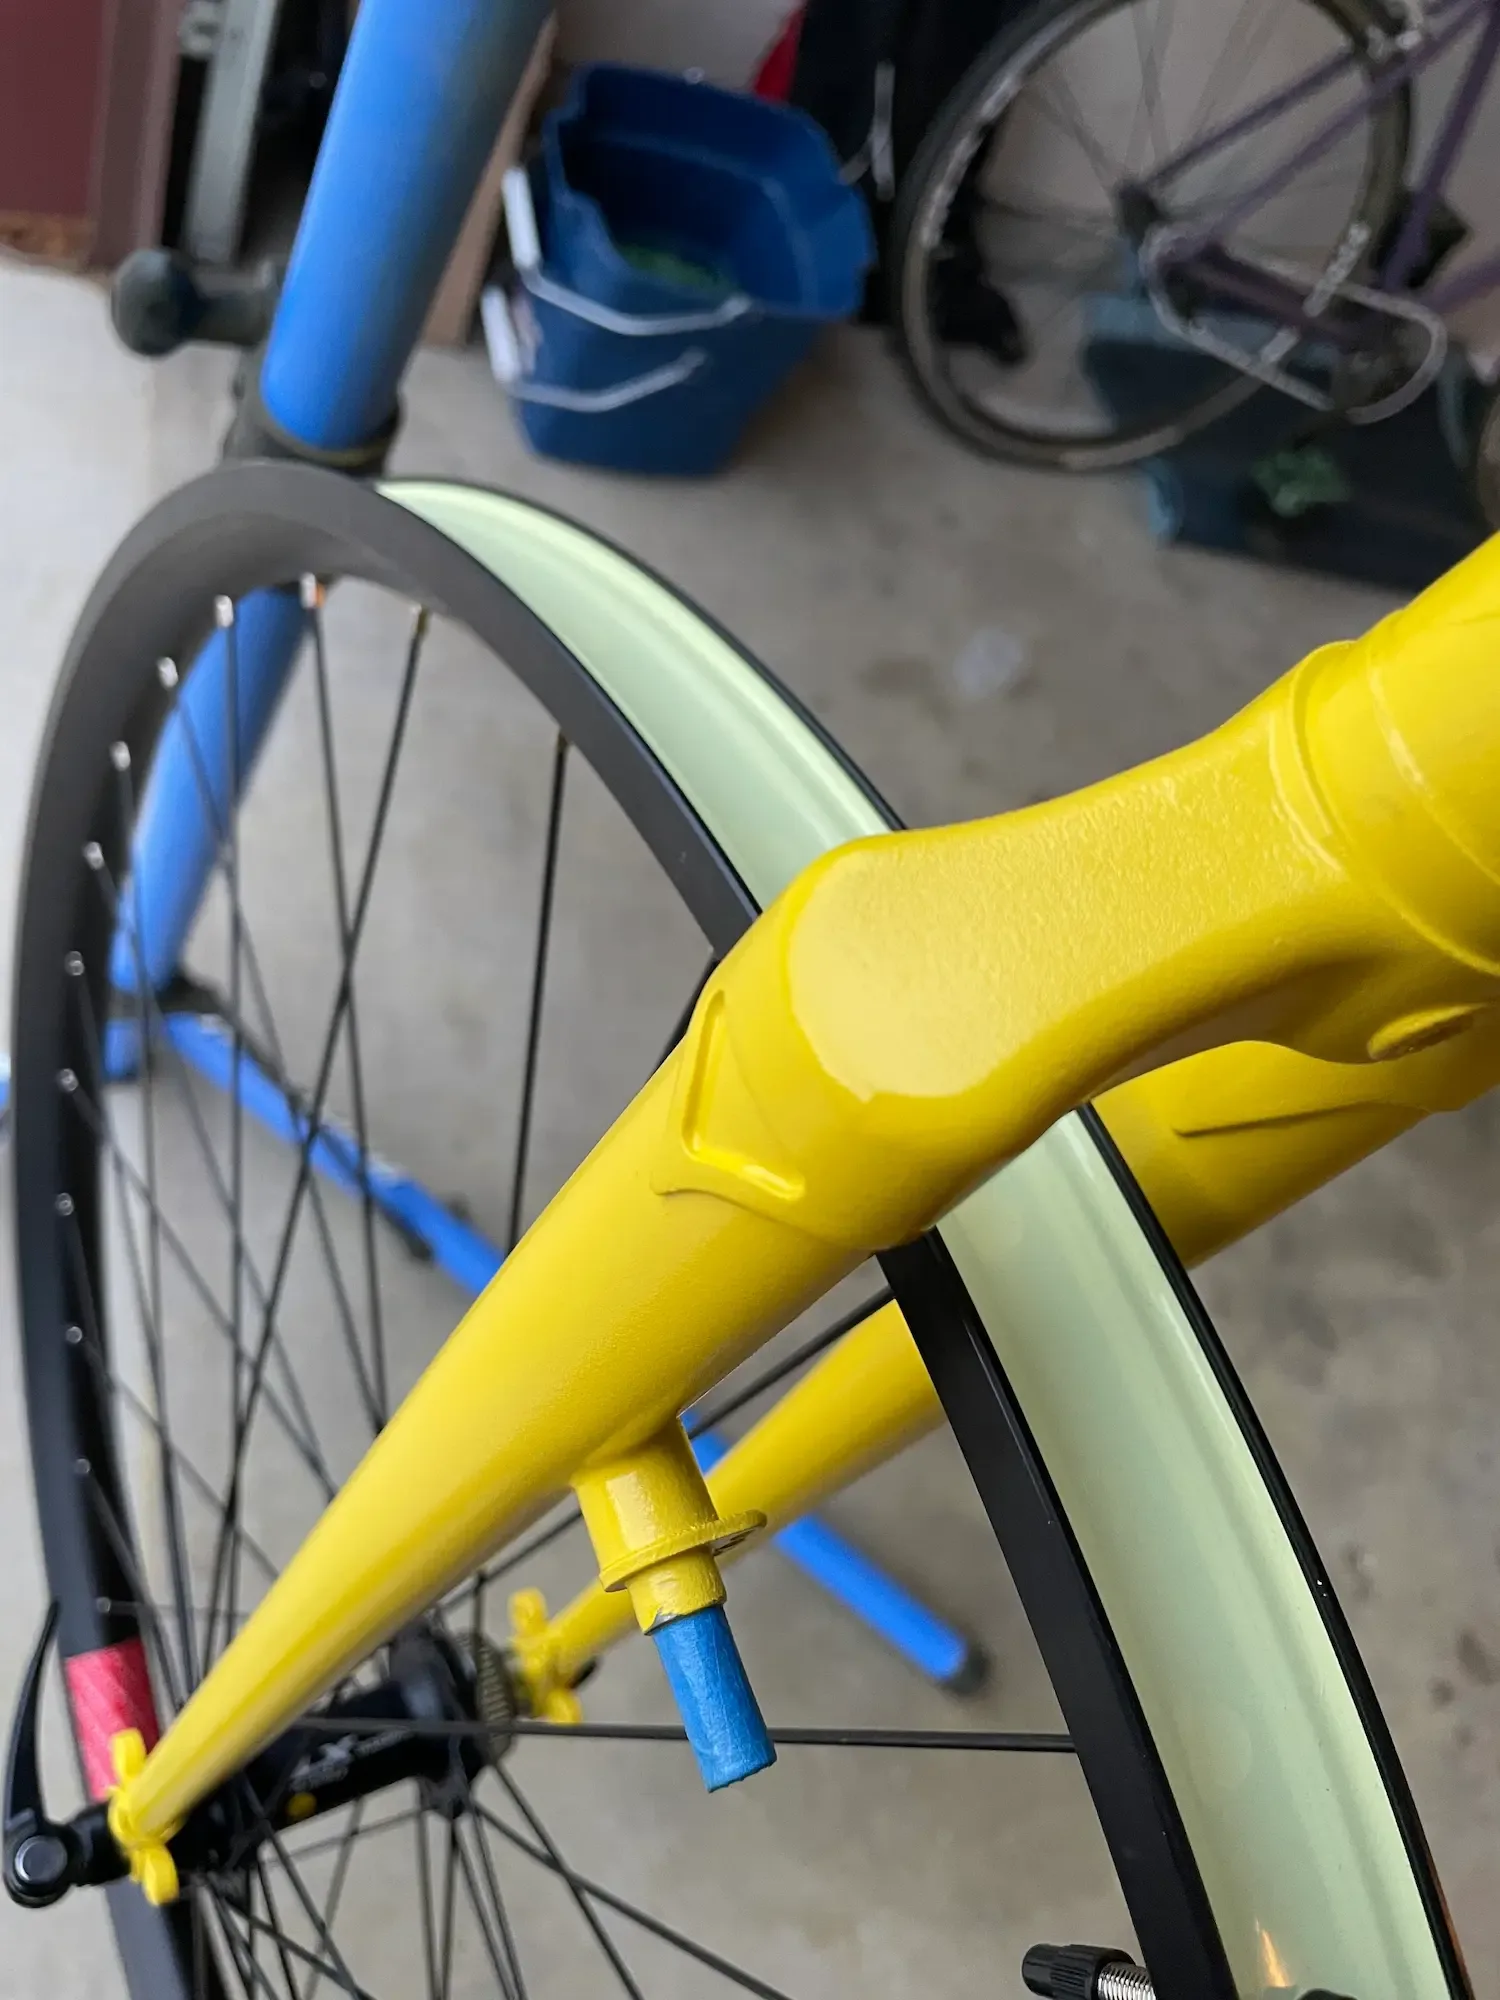
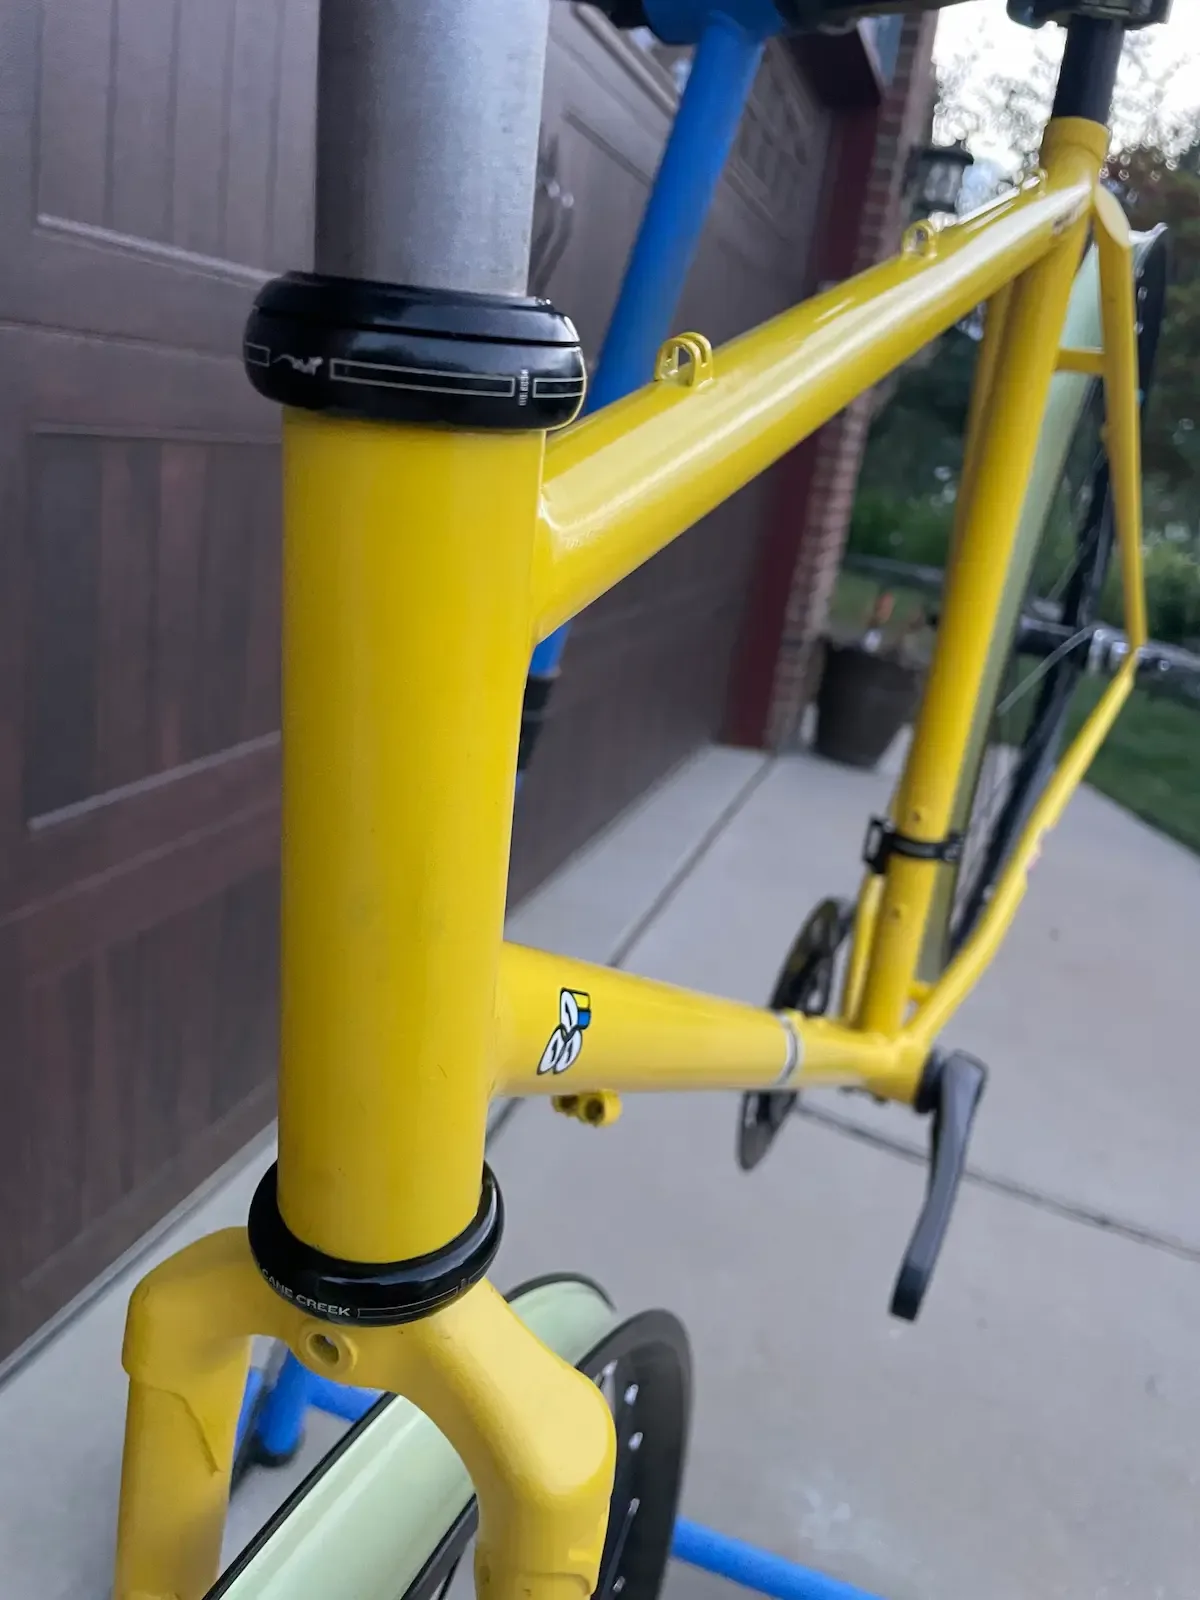
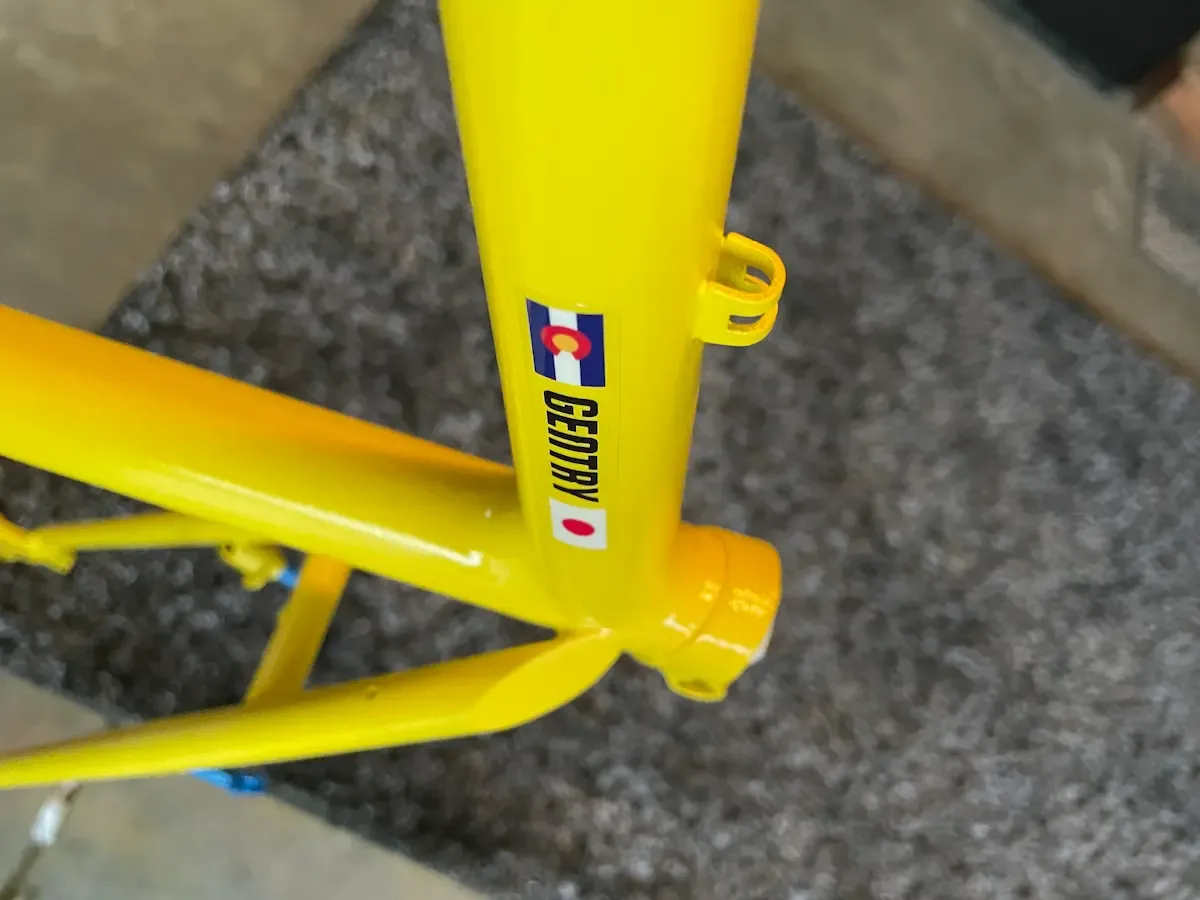
I always wanted a yellow bike, and this was my chance to make it. Exactly the shade I wanted — not a goldenrod, but a perfect, Pikachu yellow. I picked out paint from a reputable online bike paint shop in the desired shade, and had vinyl labels printed with my name and some flags for flair. I added some vintage decals as well, honouring the Yamaguchi mentorship and the intention to bring this bike touring across Japan someday.
Assembly
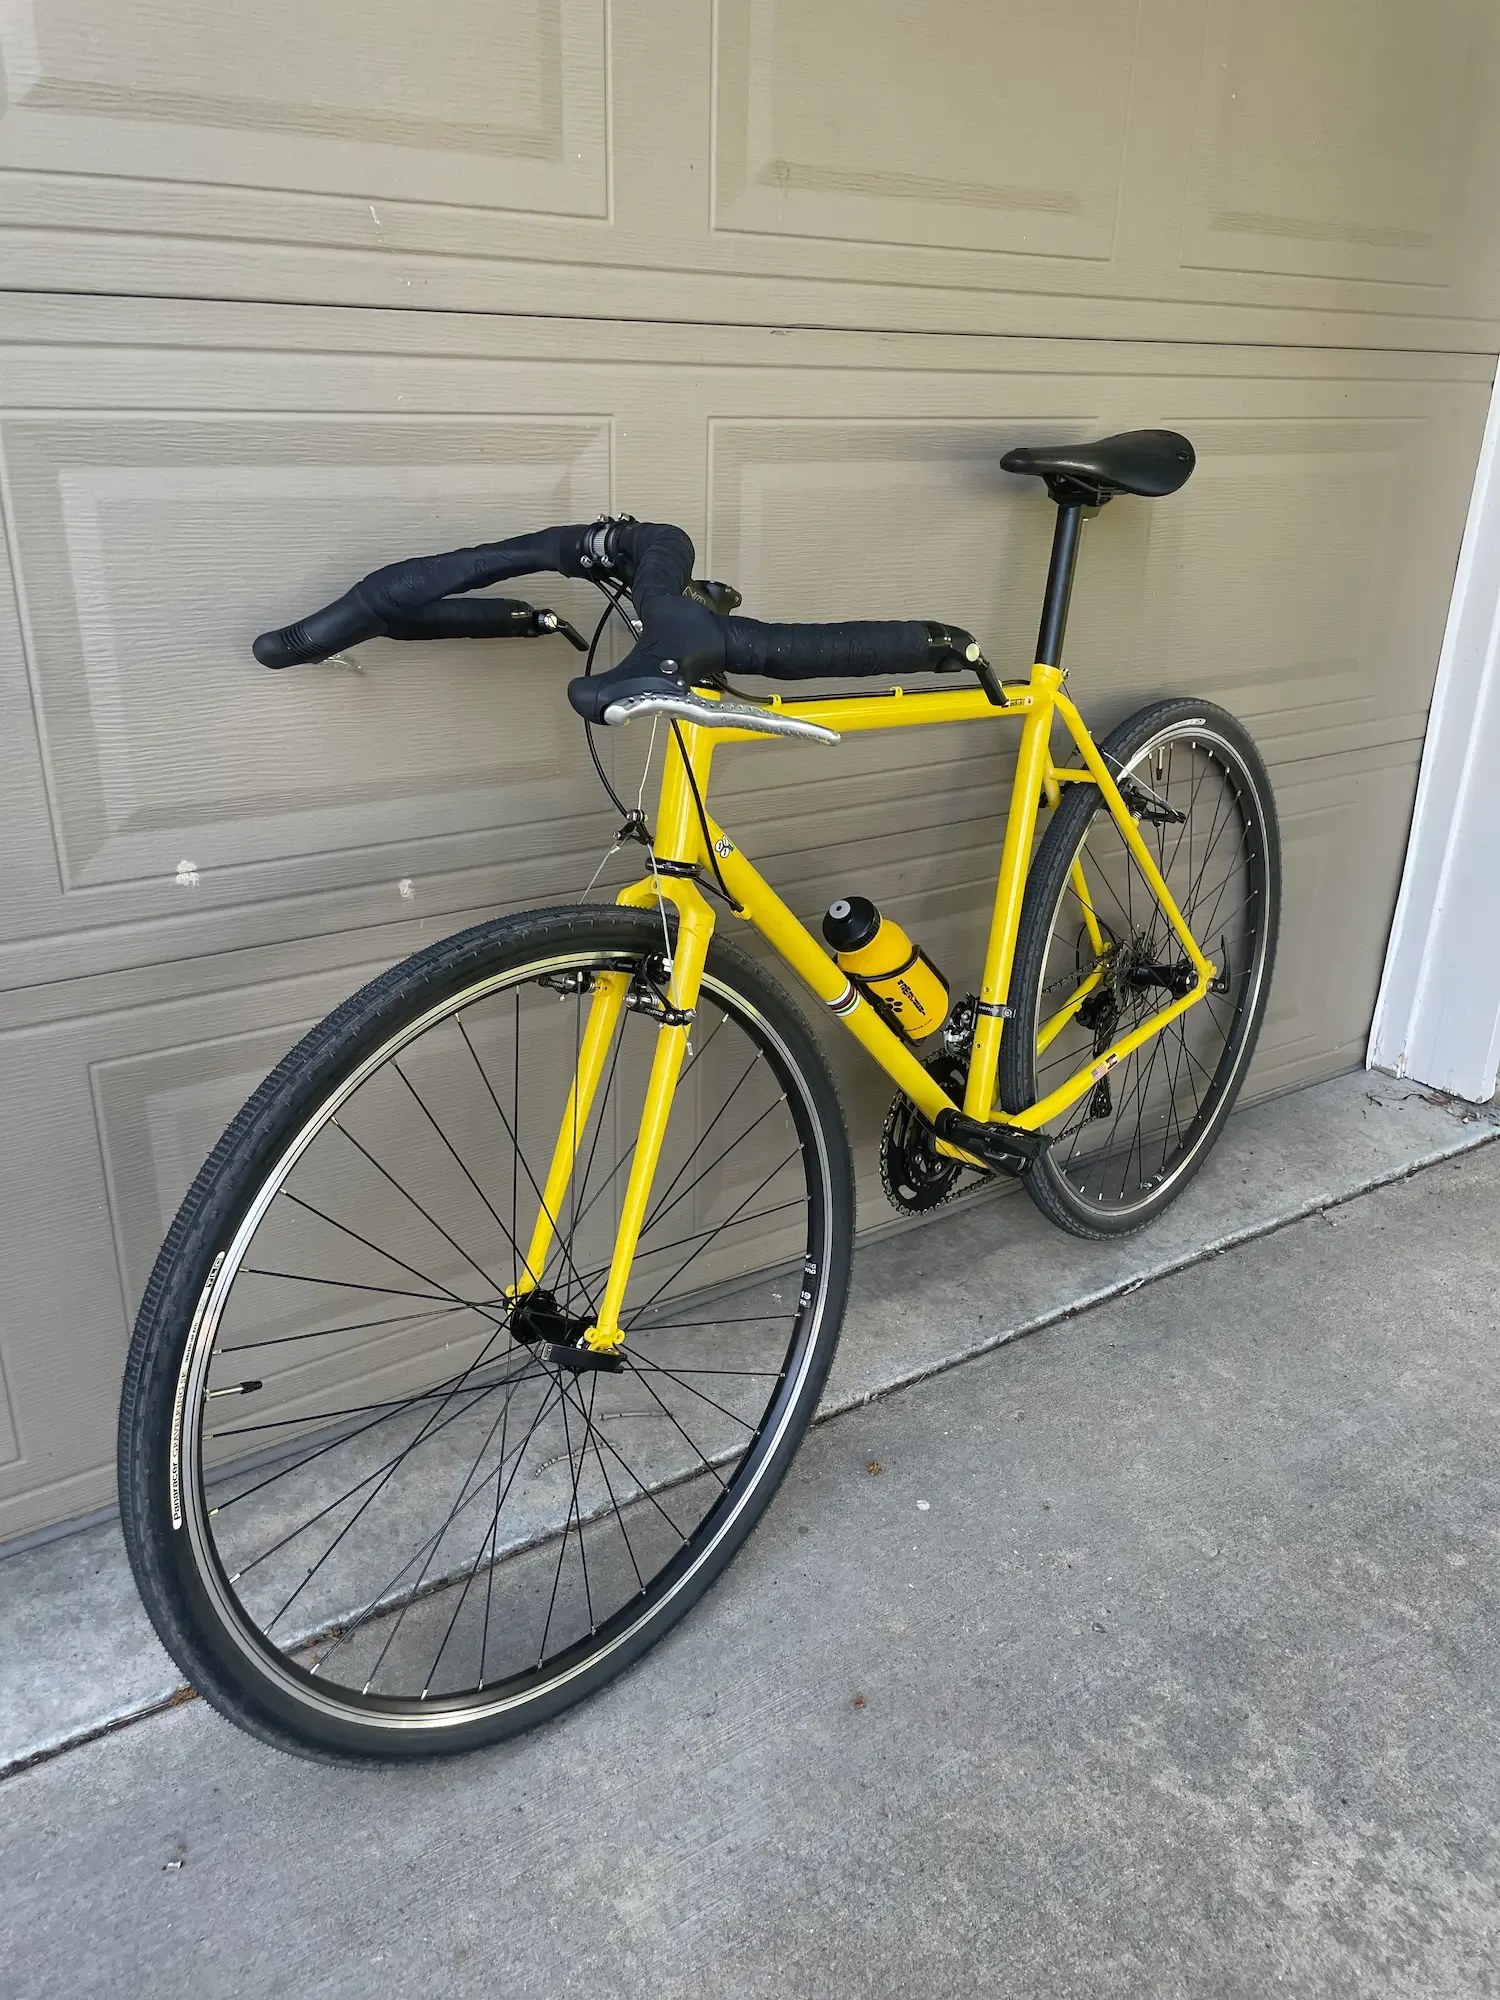
From there it was just a bit of assembly. I kept to a black component colour scheme because I like the slick look. And I added some somewhat controversial moustache handlebars — something about them really completes the look of the bike for me, and I am personally a fan.
First big ride
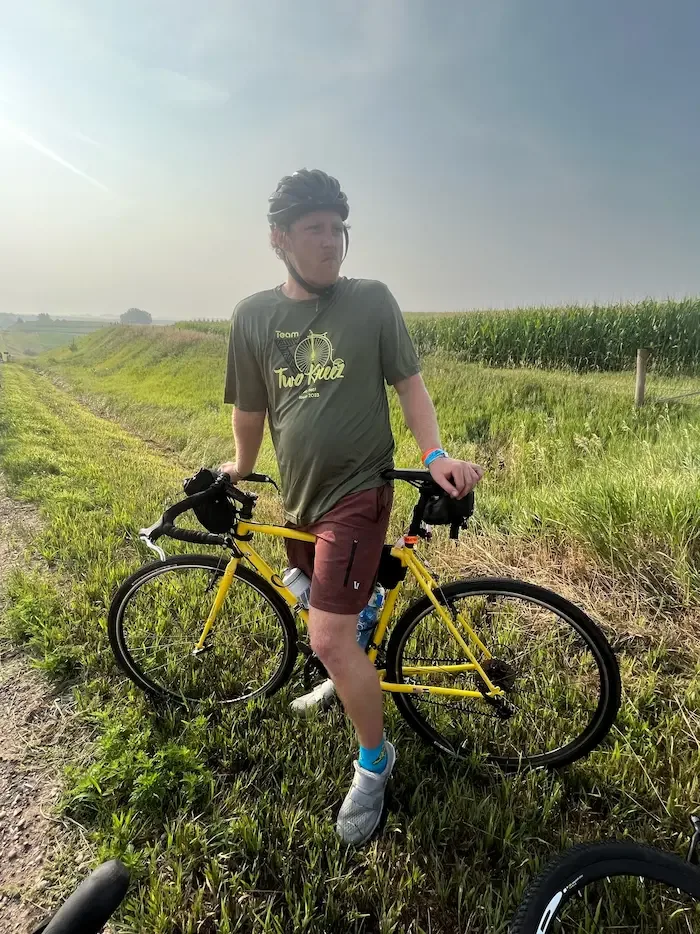
This bike made its grand debut at RAGBRAI 2023. I was invited to join the ride with a group of friends, and spent six days and 500+ miles riding alongside a girl I had just started dating at the time — who eventually became my wife.